Applab
An Web to Android App Generator
by: W3 Engineers Ltd.
Email: info@w3engineers.com
At first thank you for purchasing this template. If you have any question or any problem
regarding
this template, feel free to Contact
us via
info@w3engineers.com.
1 - Introduction
Applab is built with PHP and native Java. It's an android app generator. Admin can set up the configuration form backend.
Admin is able to generate the configuration file in two ways. 1. By generating the config file, 2. By the APIs.
To use the first method admin have to paste the config folder in the project in android studio.
Admin doesn't need to upload the backend to live server. Admin can generate the config file form localhost.
For the second method, admin has to put the API link and API token in the setting page in android studio.
To use this method admin have to upload the backend to a live server.
Features
- Configuration through the config file
- Configuration through API
- Customizable Navigation Drawer
- Customizable Color
- Complete material design
- Optimized for all size of the screen
- HTML5 game playing capability
- Load title from the web
- Download file directly from the app
- Complete Admob integration (banner and full-screen ad)
2 - Folder Structure
2.1Unzip the file.
2.2You see the following folders:
Applab_Through_Config_File(Configured through config file)
Applab_Through_API (Configured through API)
Applab_Admin (admin panel files)
db.sql (sql file)
Server_Configuration_setup_process.mp4 (Video Tutorial)
3 - Requirements
Android Studio 3+
Android version 4.2+
PHP 7+
mysql database
We have made important steps yellow for up and running the project.
4 - Installation
4.1PHP version 7+ required(So update your Xampp control panel or install new
one).
4.2Database Setup
In order to setting up database , first you create a database applab_db”.
Then you can easily import the db.sql file in your server.
Link the database to admin panel
For linking up, first you will find the file from this directory:
Insert the dbname (if it is empty),
username, password.
4.3Installation on Locally
Make sure that you have already installed
Xampp control panel.
Copy the applab-admin folder and paste it in your
Xampp's htdocs folder.
Now run your Xampp Control Panel.
Create a database. Database name will be
"applab_db" or any other name
Import the db.sql file in your created database.
(db.sql file is located in the Main_files.)
Find your pc ip address.
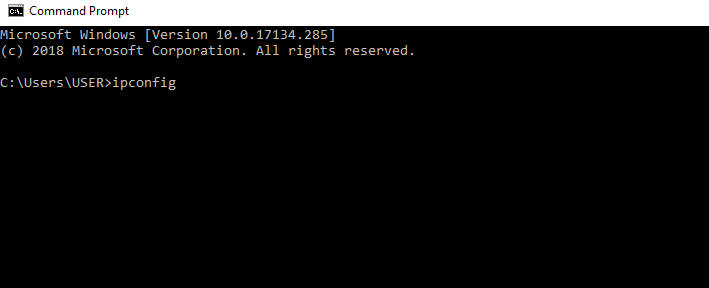
Open Command Promt and type => ipconfig
Then find the IPv4 address (example: 192.168.2.88), copy the address
Open your browser.In your browser url type:
http://your_ip_address/applab-admin
For example, my pc ip address is: 192.168.2.88
So the url will be: http://192.168.2.88/applab-admin
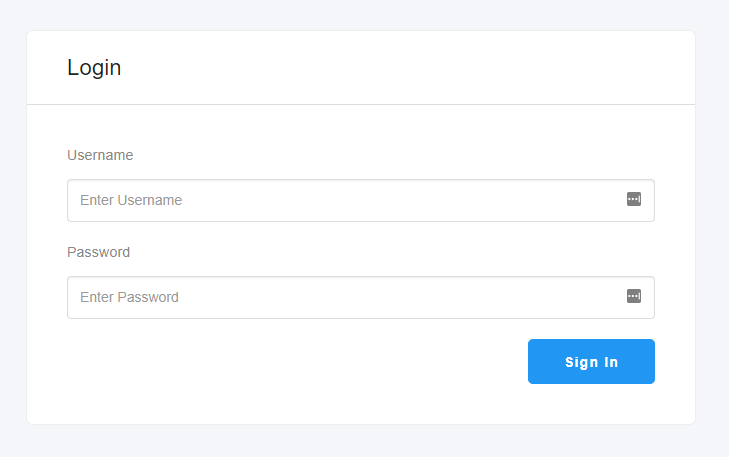
If you see the admin login page, then admin-panel work successfully.
Username: admin
Password: 123456
4.4Installation on Server
To install it on the live server, First import the databse to the server.
Then copy the project folder and paste
it to your live server folder.
Please give the writeable 777 permission
to the following folders and the subfolders inside them:
public\uploads
public\uploads\thumb
Login as Admin:
UserName: admin
Password: 123456
5 - Configuration of the app from admin panel
5.1Generate the config file from the admin panel
a.Place the config file
Generate the config file from the admin panel.
Copy the config file from assets folder.
Past this file in application’s assets folder like
the screenshot.
b.Place drawable ressources
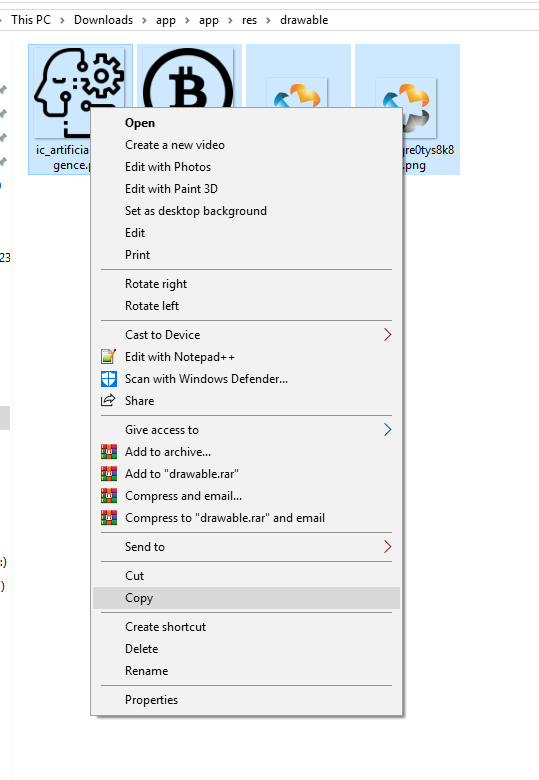
Now Copy the generated drawable images from
config folder
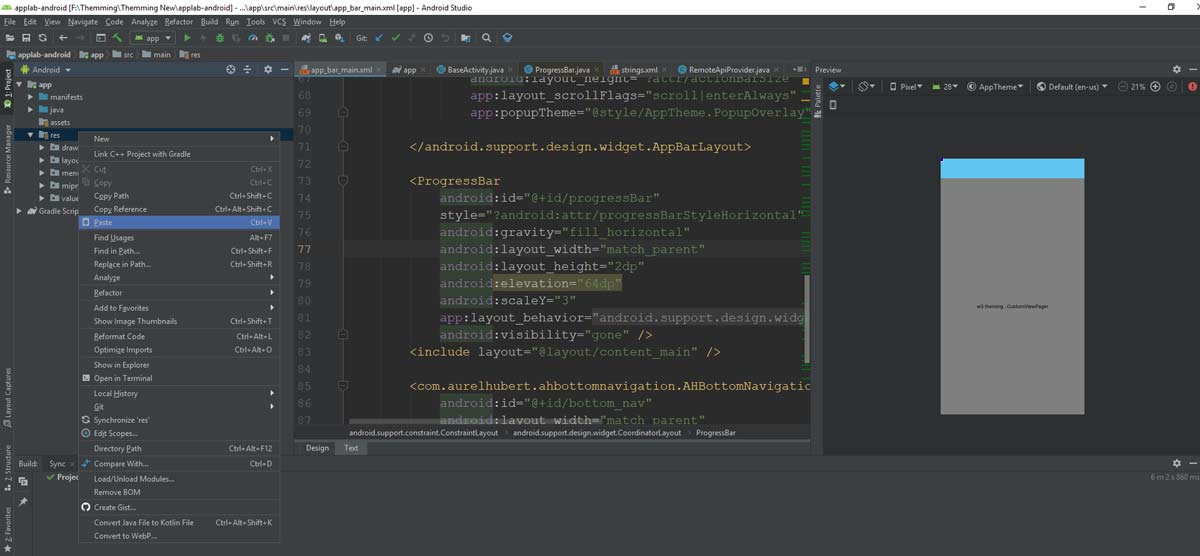
Right click on “res” folder of the project and
paste the resources.
Now build and run the application.
5.2By the APIs
If you have live server and wish not to place
static configuration file then you can configure the app with your server.
Just delete the config file from the assets folder and then you can manage your app UI through admin panel.
Follow the steps to configure the admin panel
Press double left shift on the keyboard.
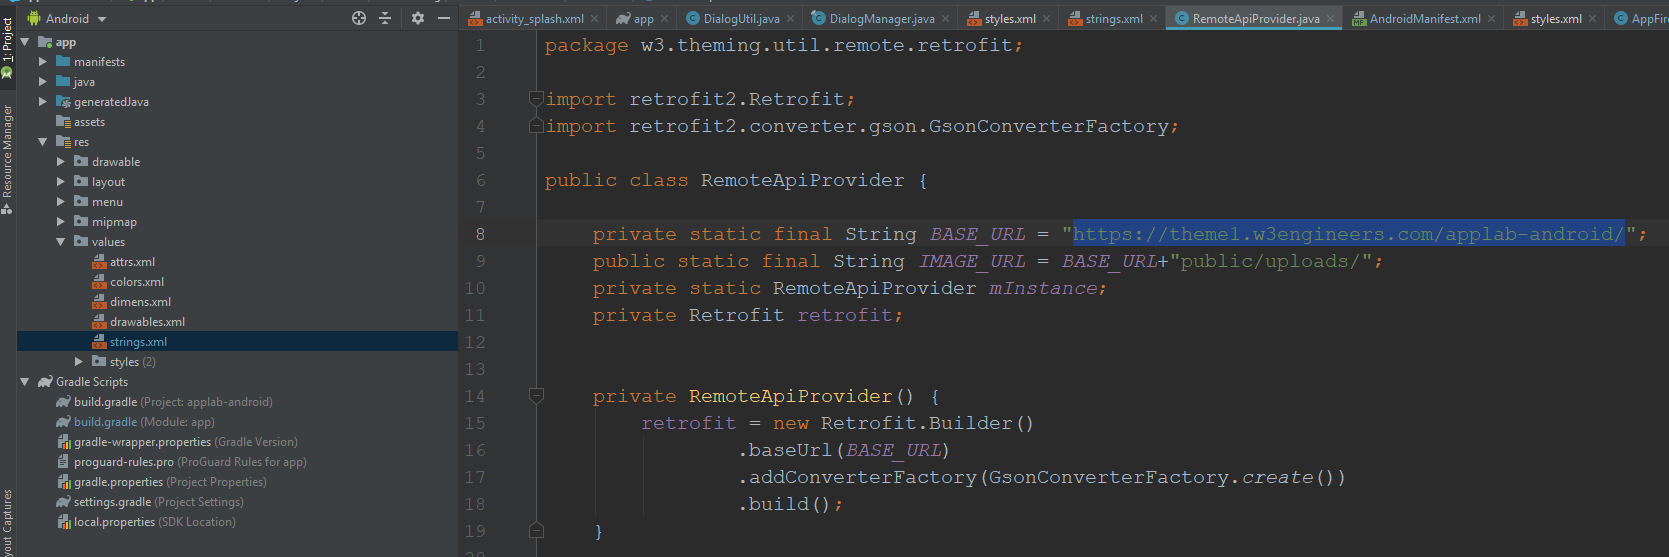
Write “RemoteApiProvider” and open “RemoteApiProvider” class.
Replace the value of “BASE_URL” (line no 8)
according to your server url.
Go to admin panel settings and copy the api_token value
Replace “api_token” value in string file (line no 34)
6 - Customizing the App
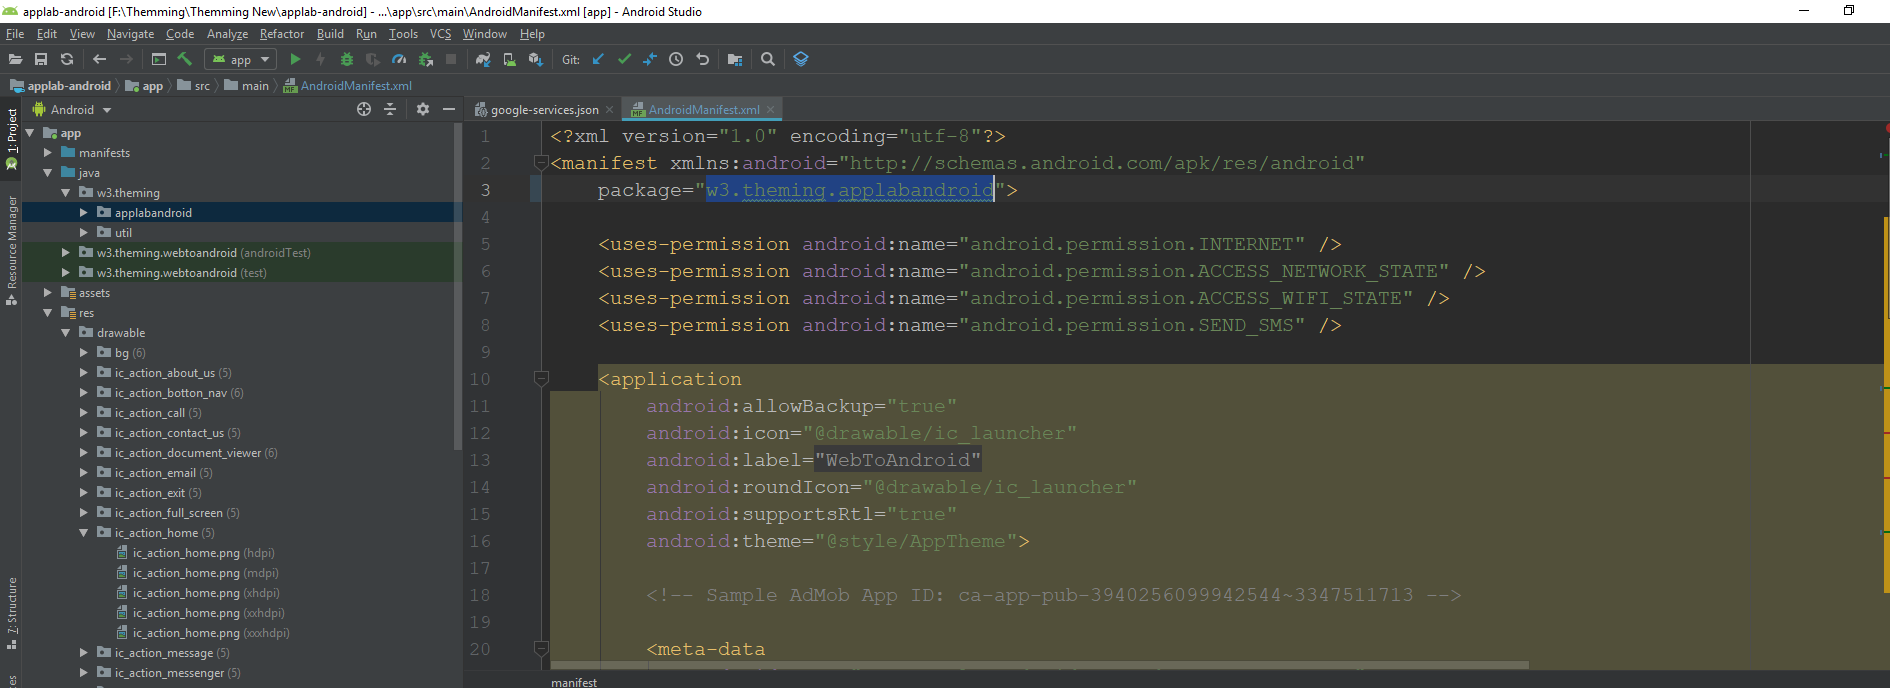
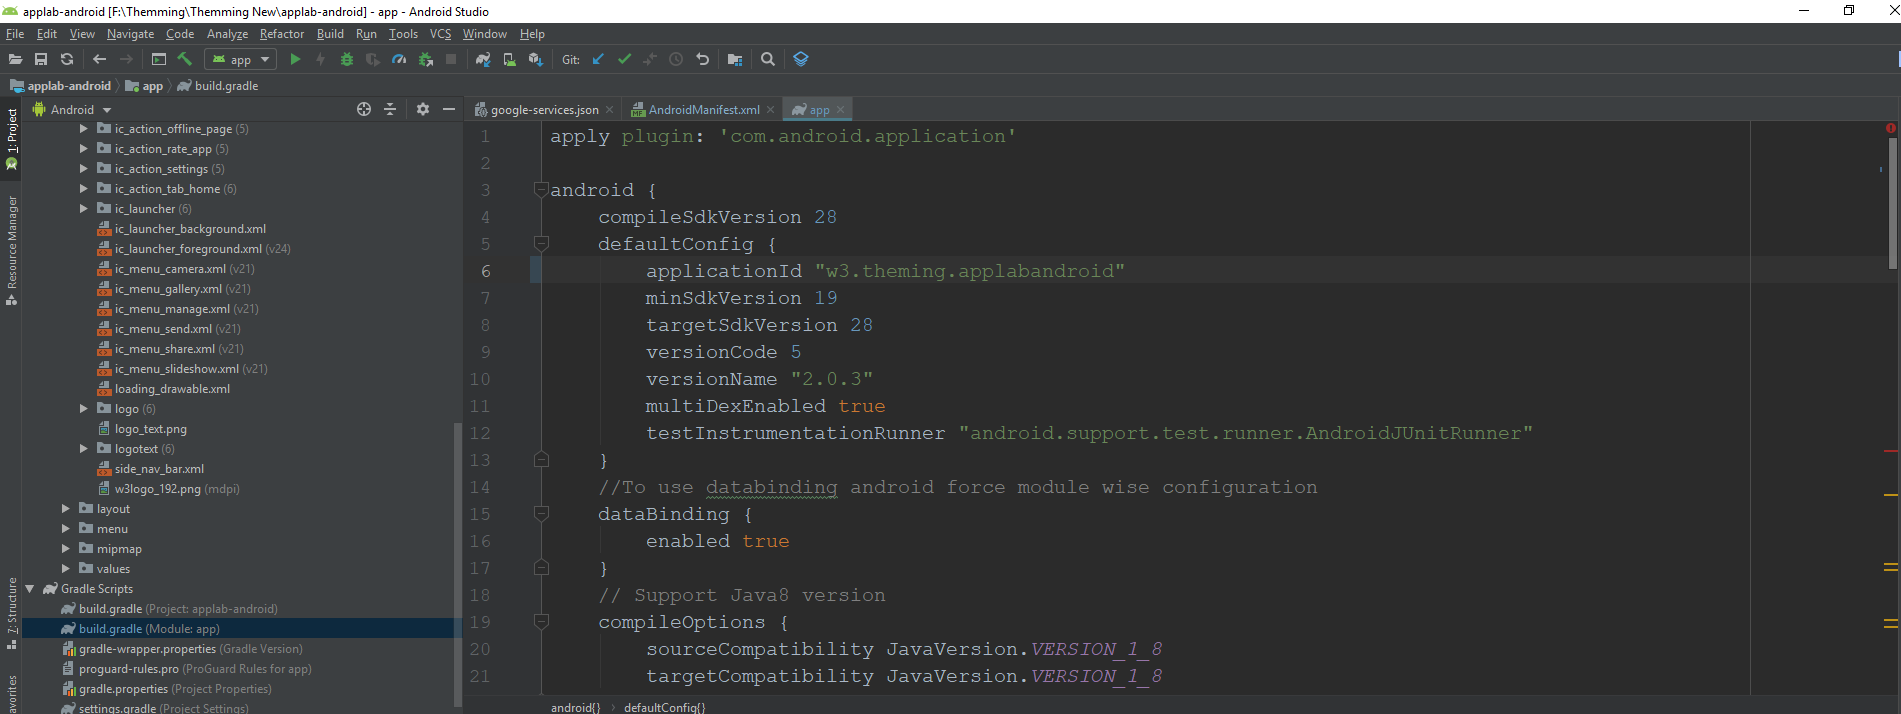
6.1Enable Auto import and change package name
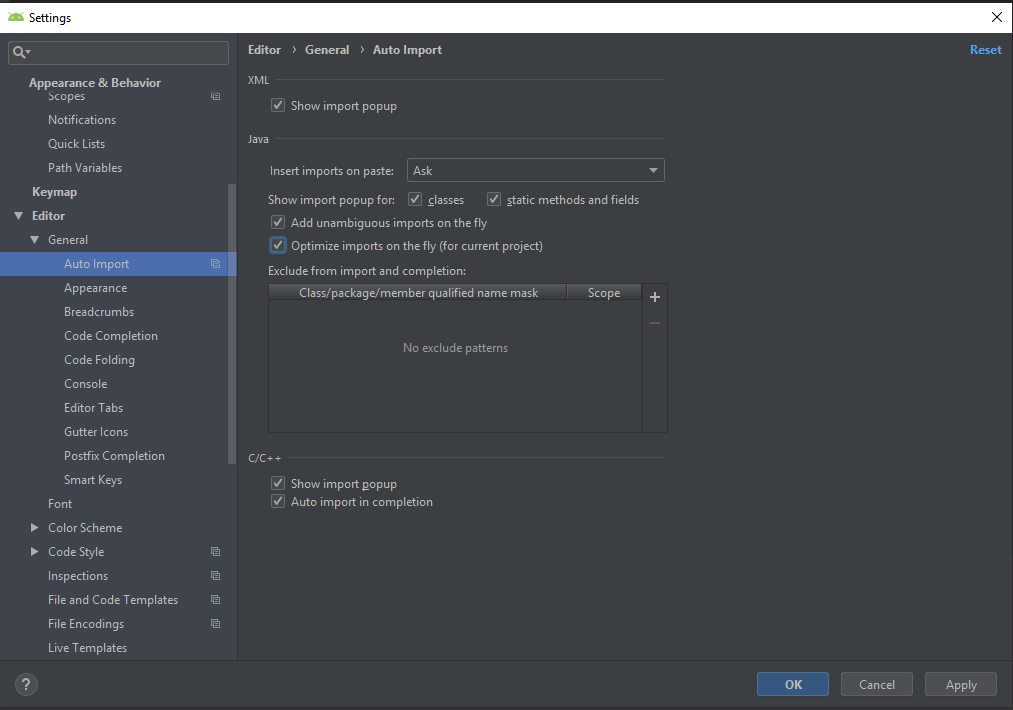
First file and click on settings.
Now go to Editor>general>auto-import and enable auto import if not enabled previously
Click on apply and restart your android studio.
In your project pane, click on the little gear icon
Uncheck / De-select the Compact Empty Middle Packages option
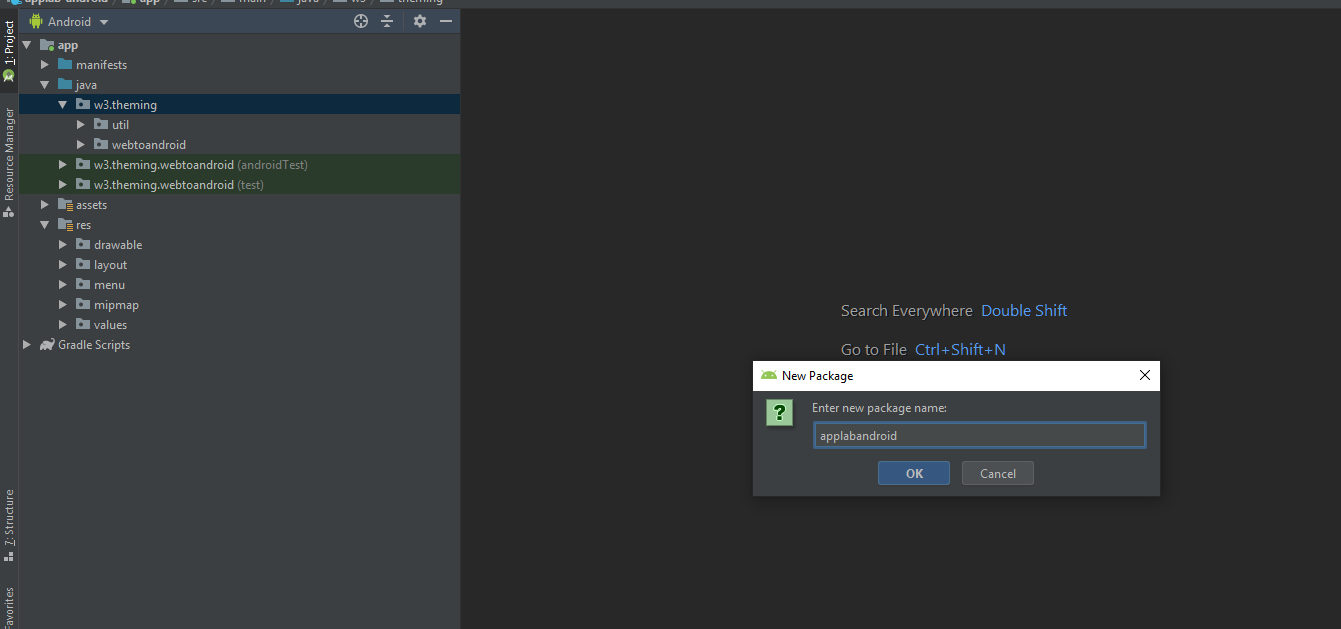
Right click on package “com”
Click on new>package and create a new package
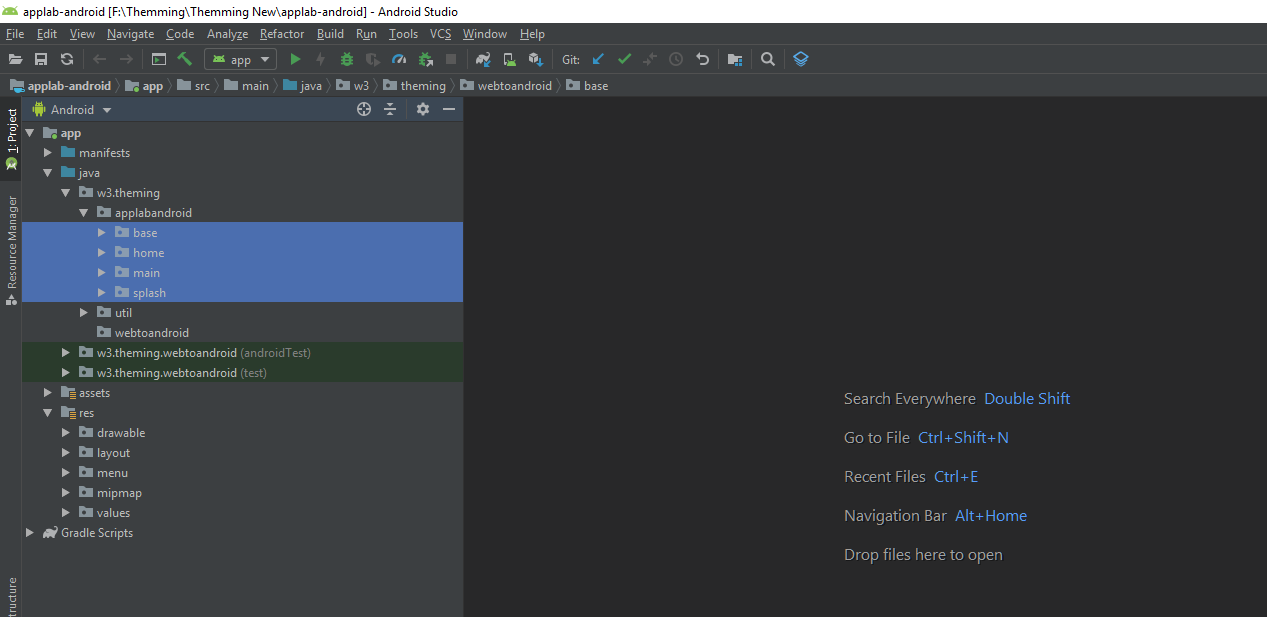
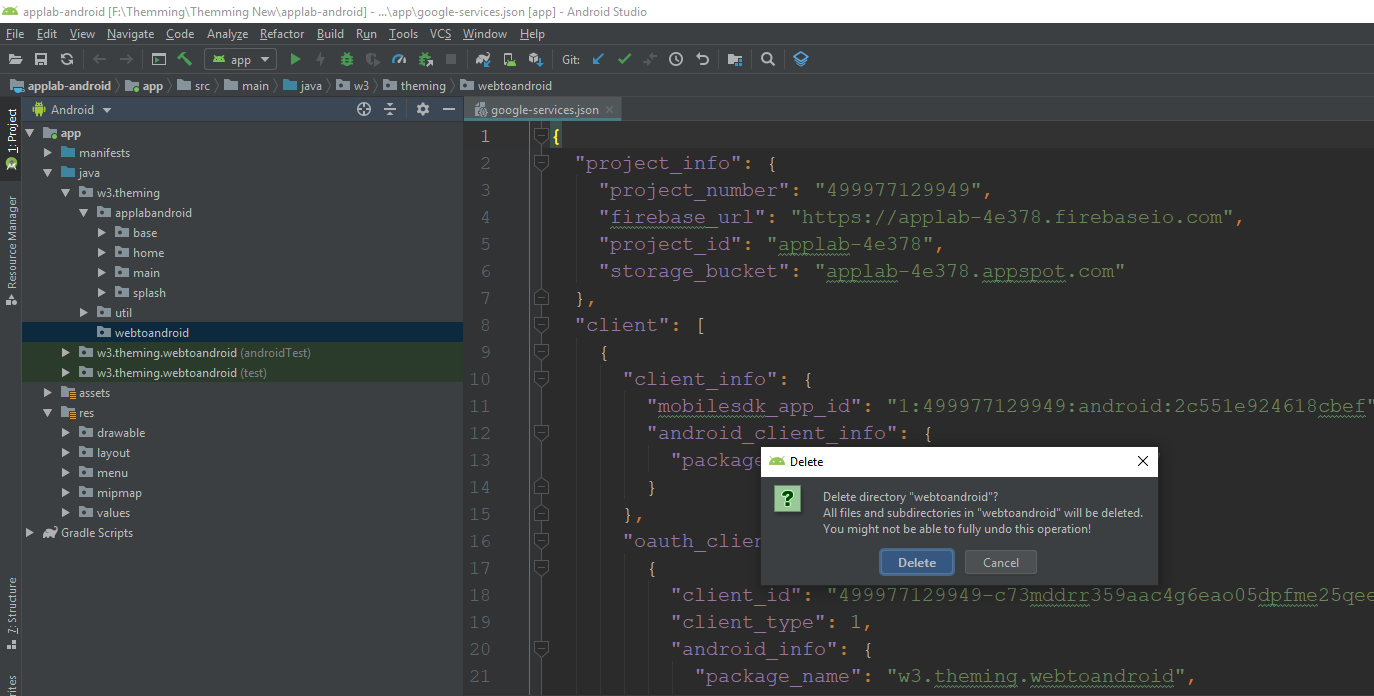
Move all the contents from package w3engineers into newly created package.
Delete the unused package from.
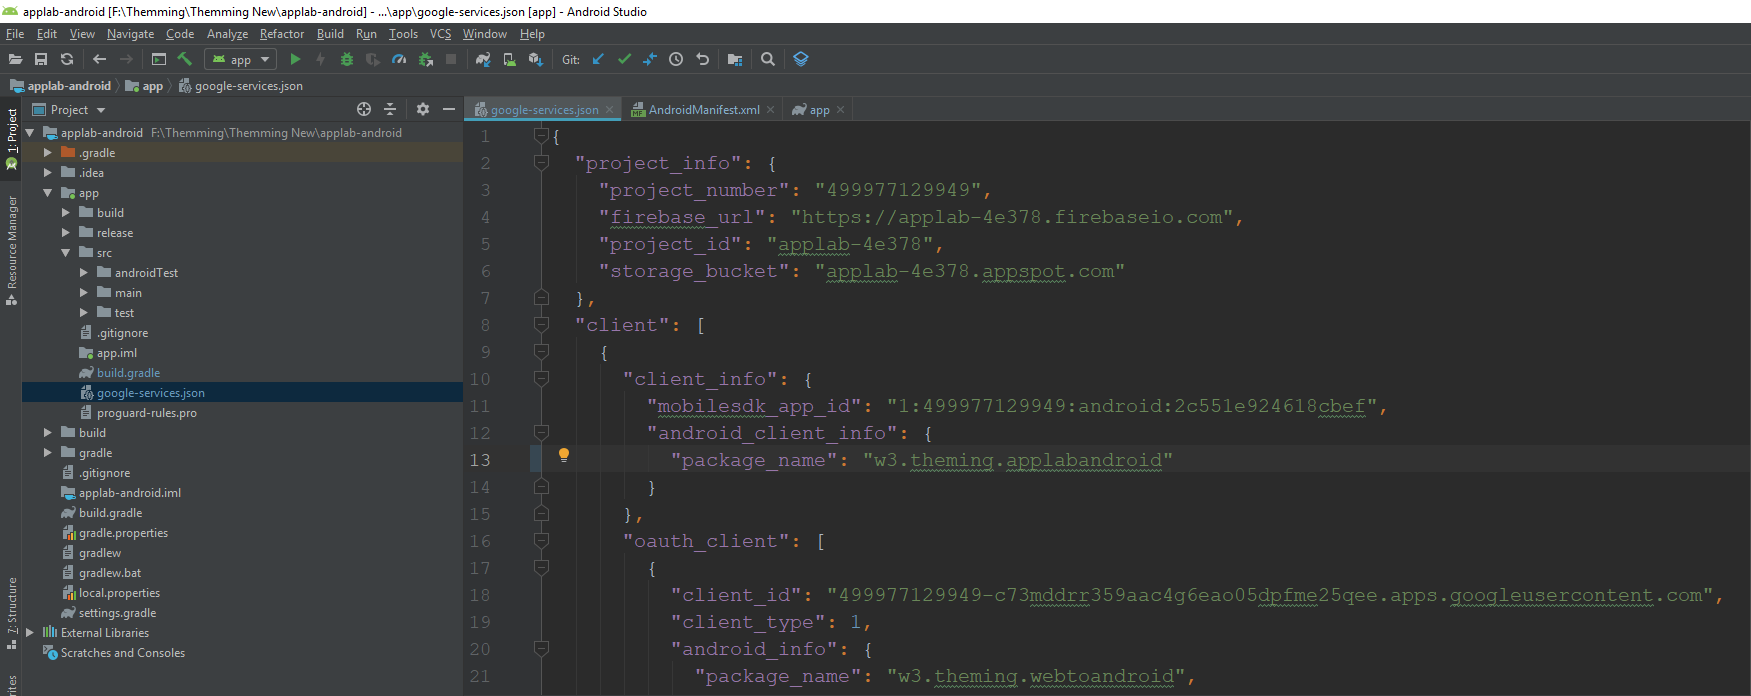
Change the package name from google-service.json
Delete the build folder
Go to android studio menu and click “Build buldles(s)/Apk(s) ”
If the apk build successfully then the work is done
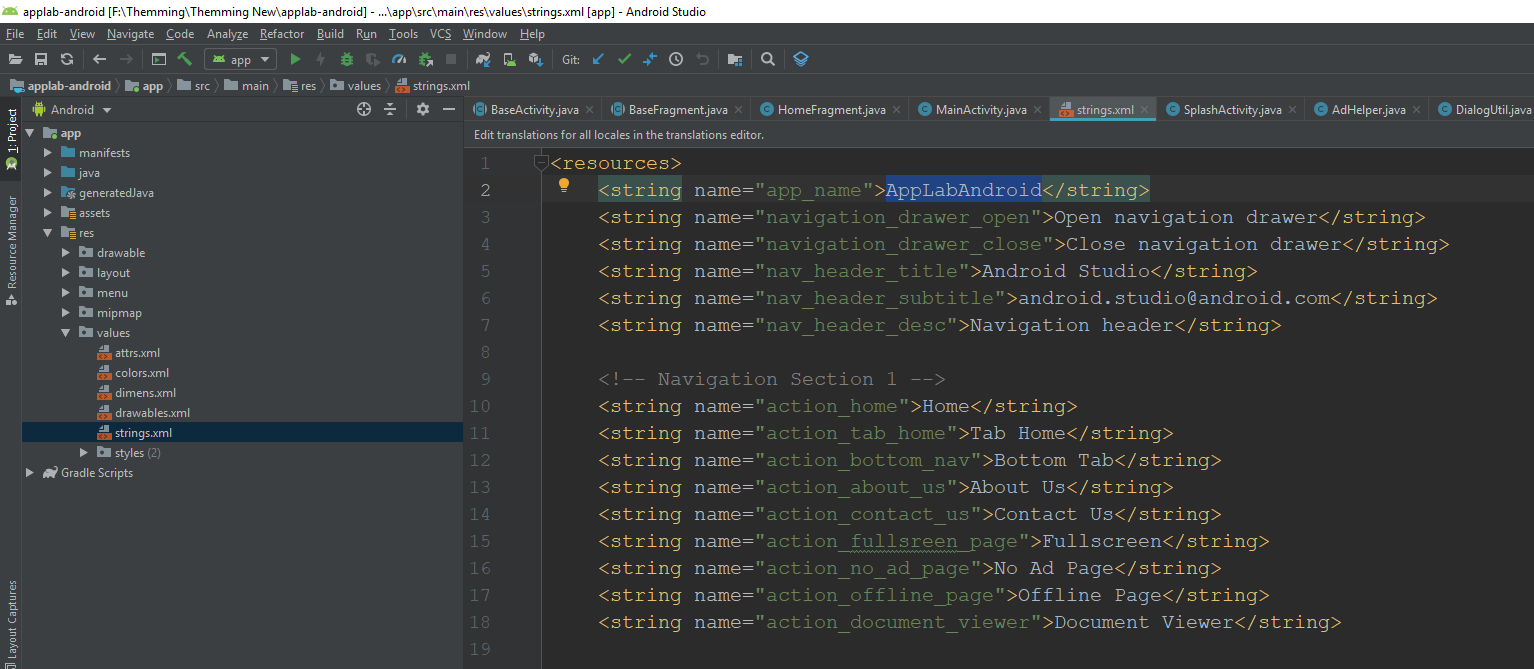
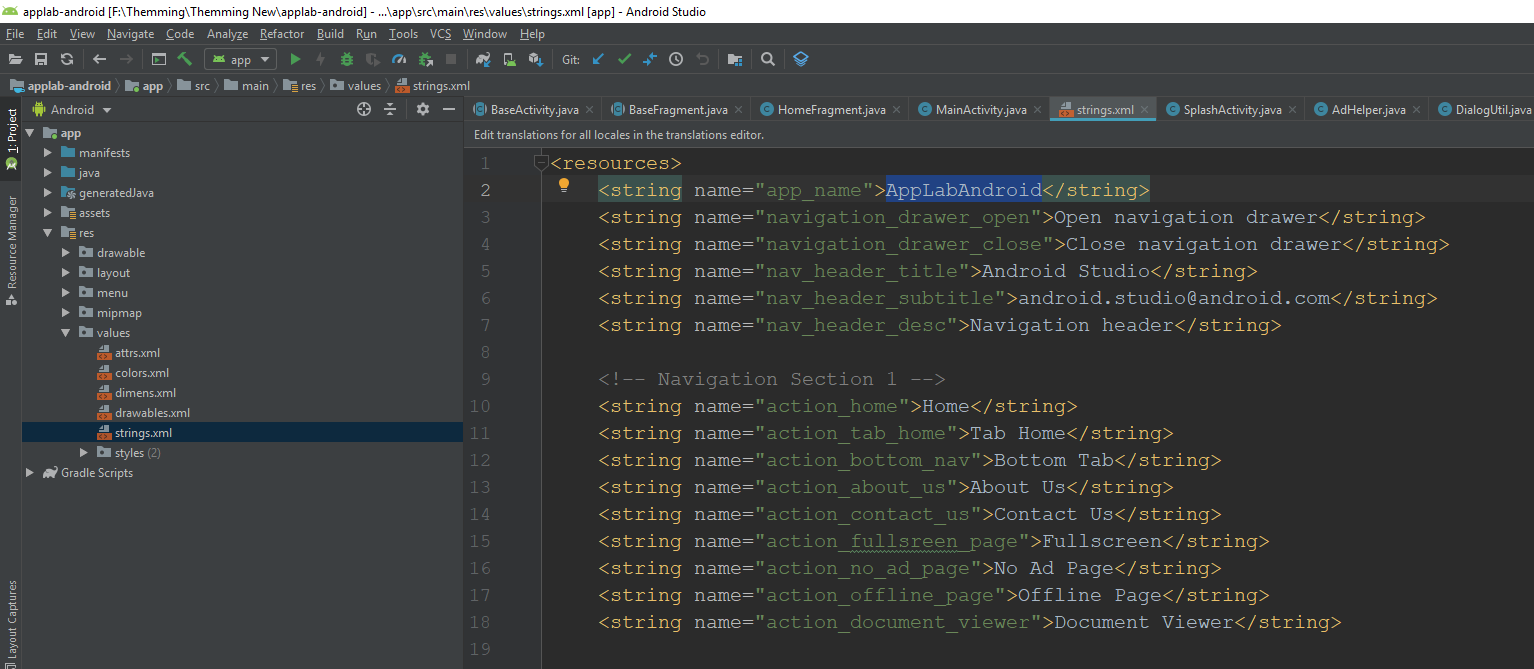
6.3Changing the App Name
For changing app name go to the values > strings.xml file
And change the app_name.
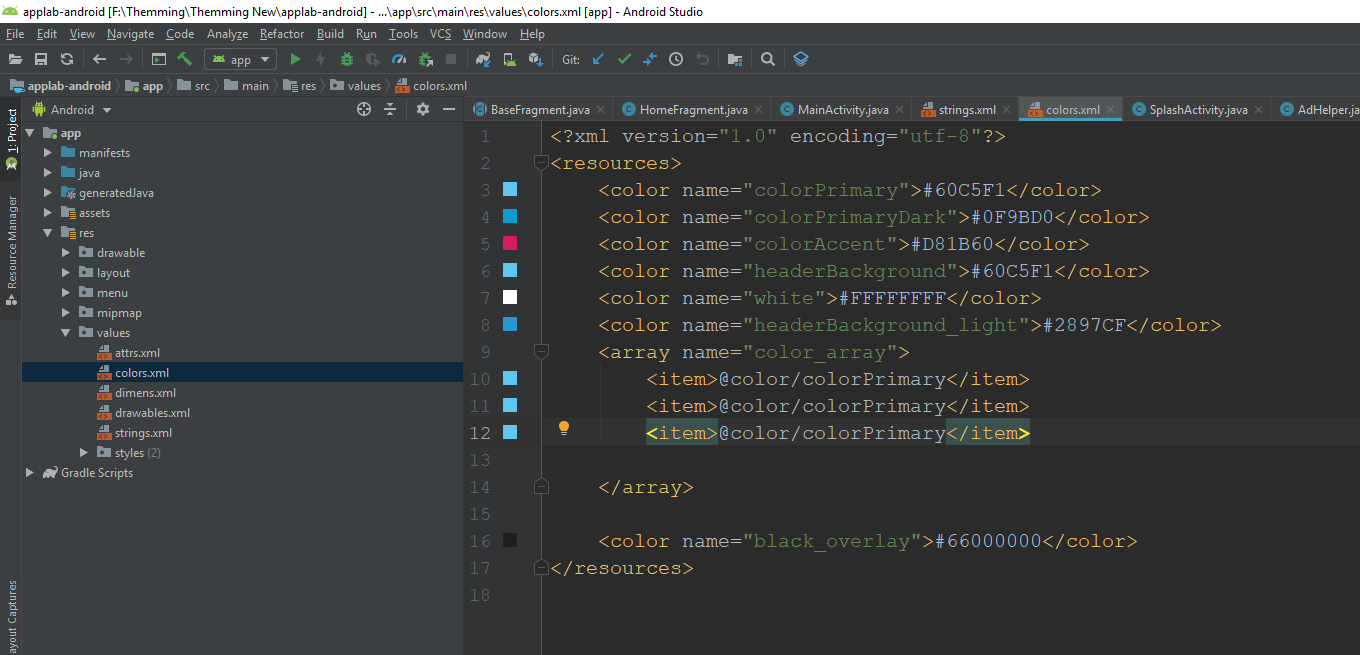
6.4Change App Color
For changing app name go to the values > colors.xml file
And change the colorPrimary,colorPrimaryDark, colorAccent.
6.5Change app logo
Open AndroidManifest.xml file
Copy your desired logo and paste it into drawable
folder according to project configuration video.
Replace drawable location of icon and round icon from
line no 20 and 22
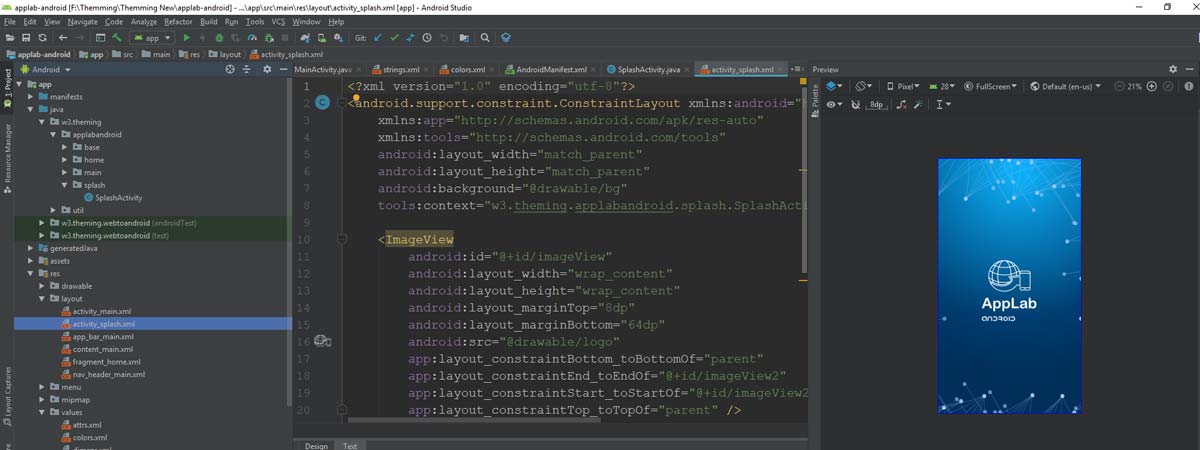
6.6Change the splash screen
Change AppTheme.Launcher theme from
res>values>style.xml file. This theme is using for splash screen.
Or open drawable>splash_screen.xml file
and follow the steps:
To change the background of the splash:
change the drawable from line no 7.
To change the log of the splash:
change the drawable from line no 12.
7 - Configure push notification
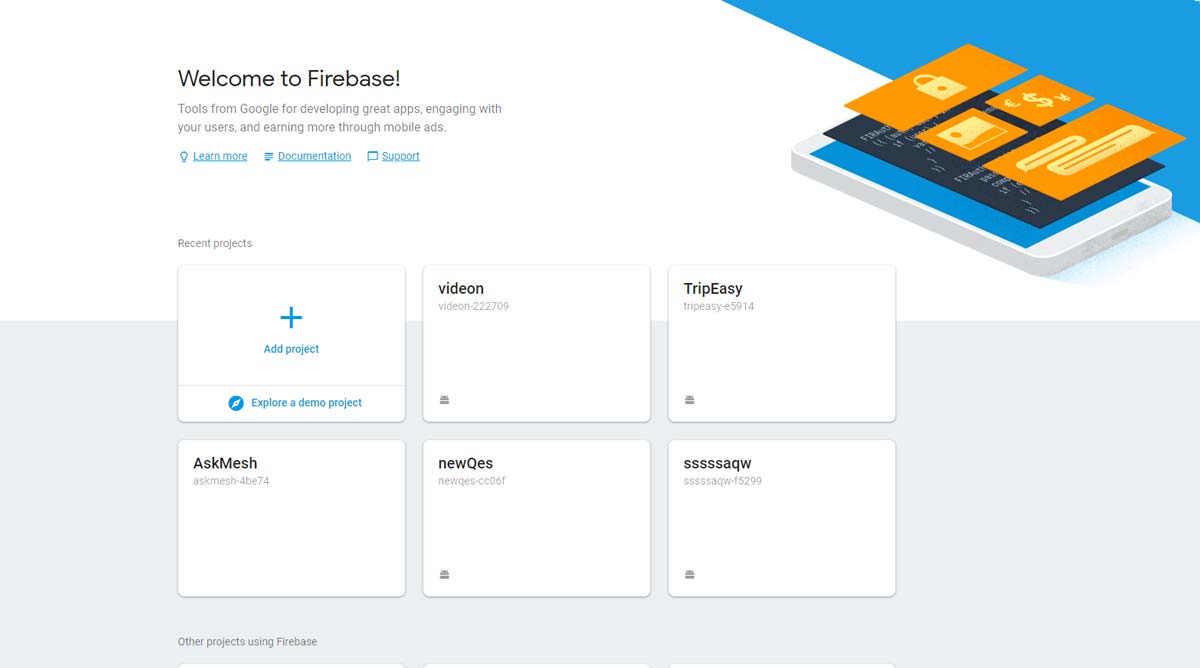
Sign in with your Gmail
Go to console.firebase.google.com
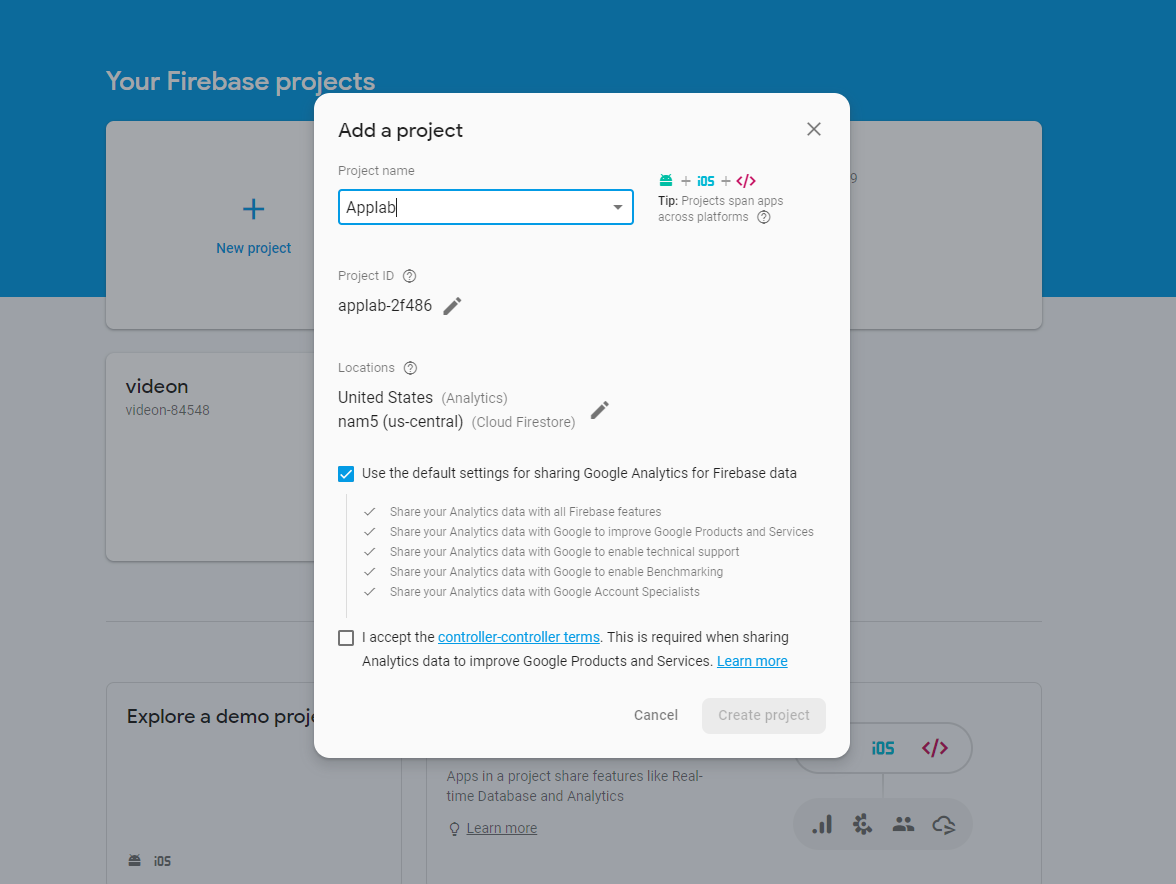
Click On Add project
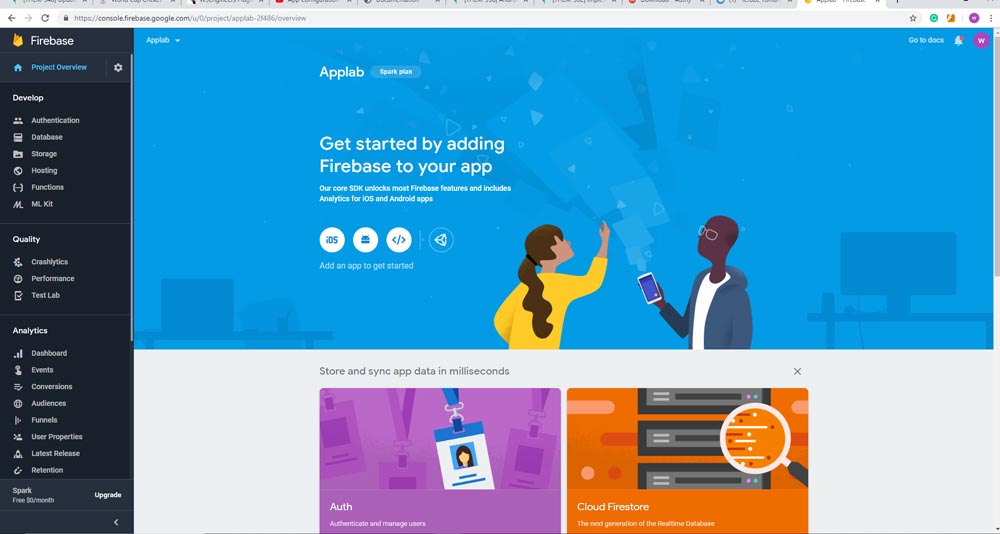
Provide a project name and hit on “Create Project”
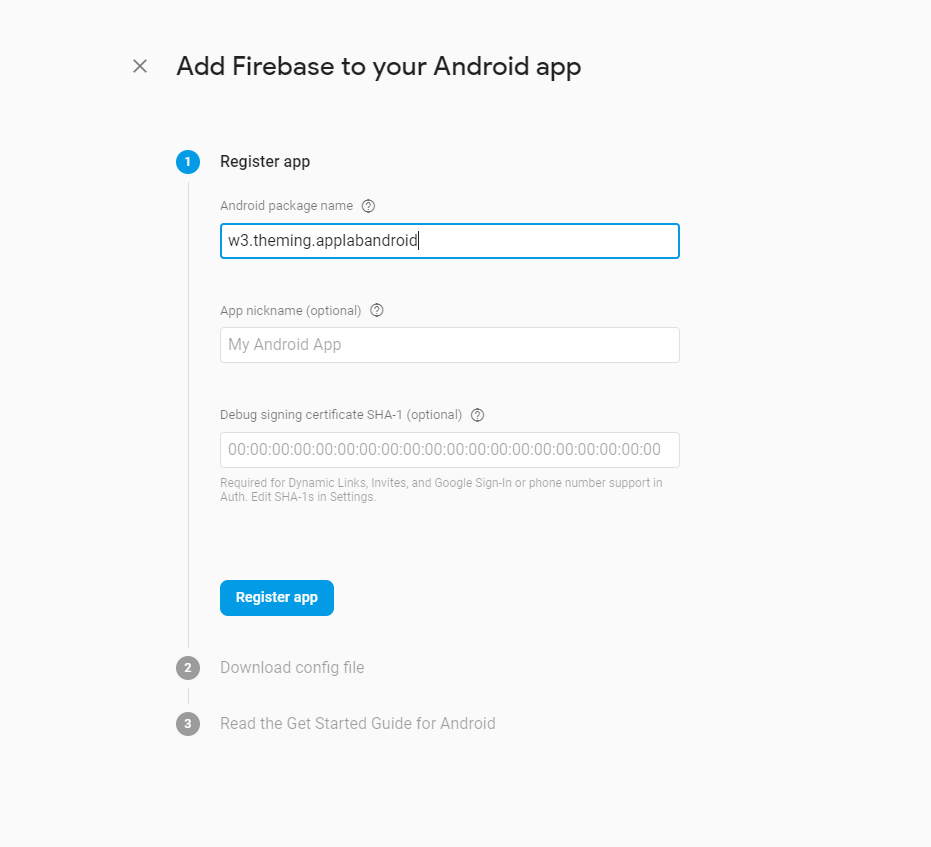
Now click on Android Icon to configure project for android.
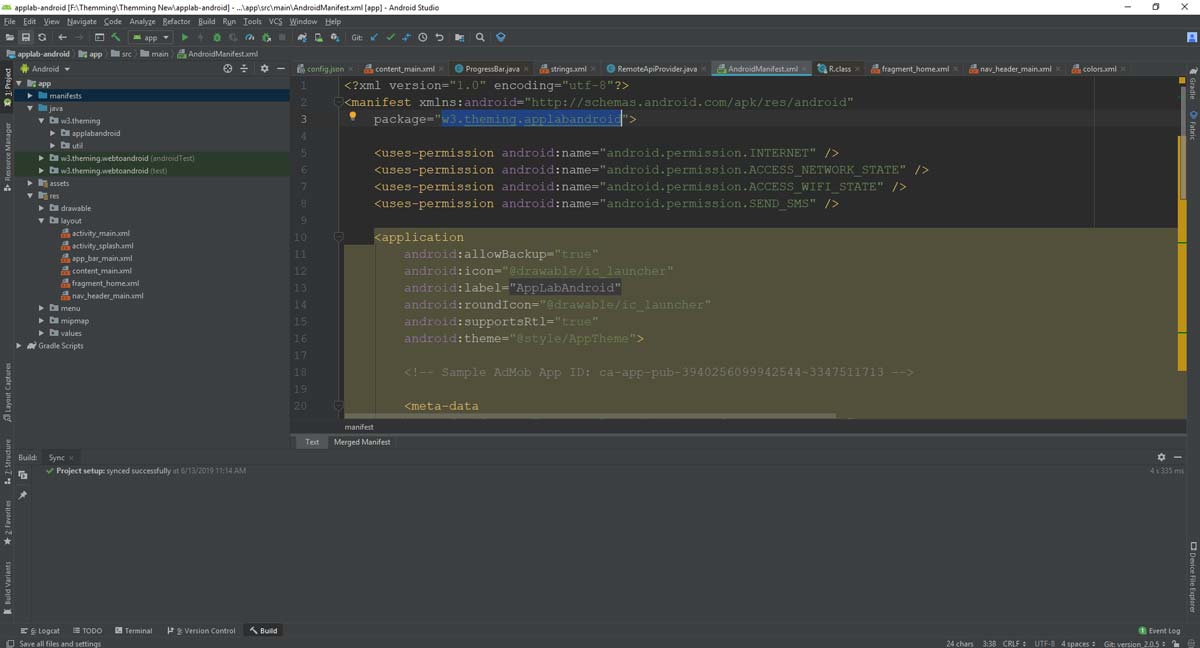
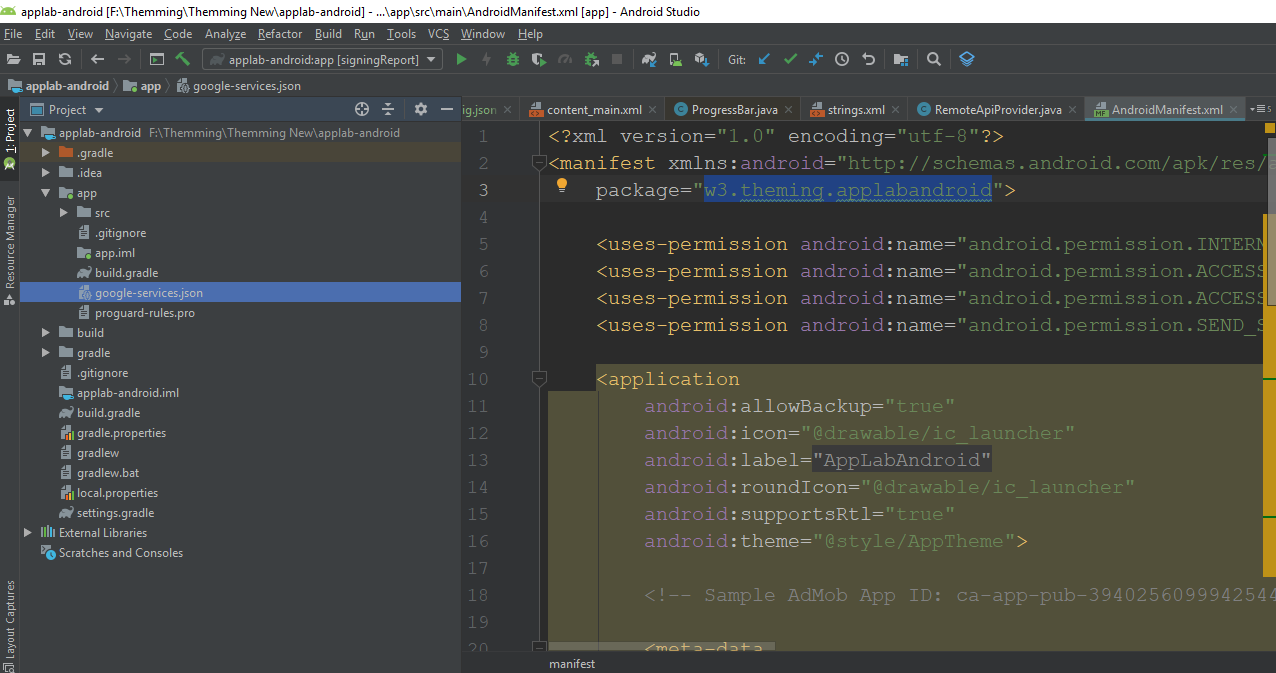
Open Android Manifest and copy package name.
Past the package name in Register App field.
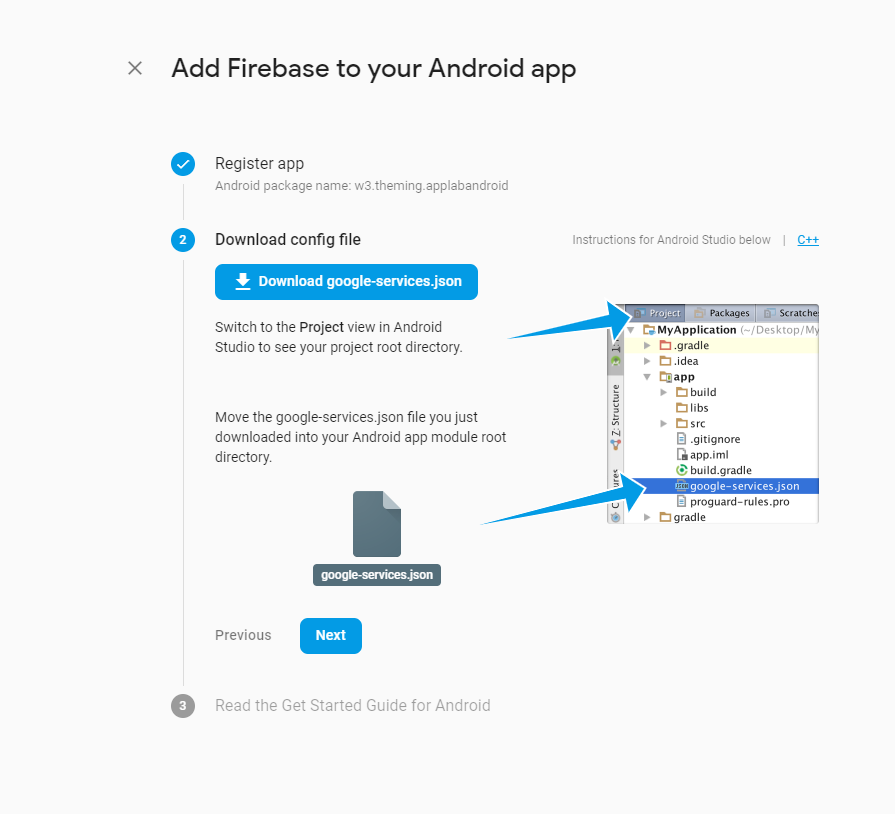
Download the googleservice.json file.
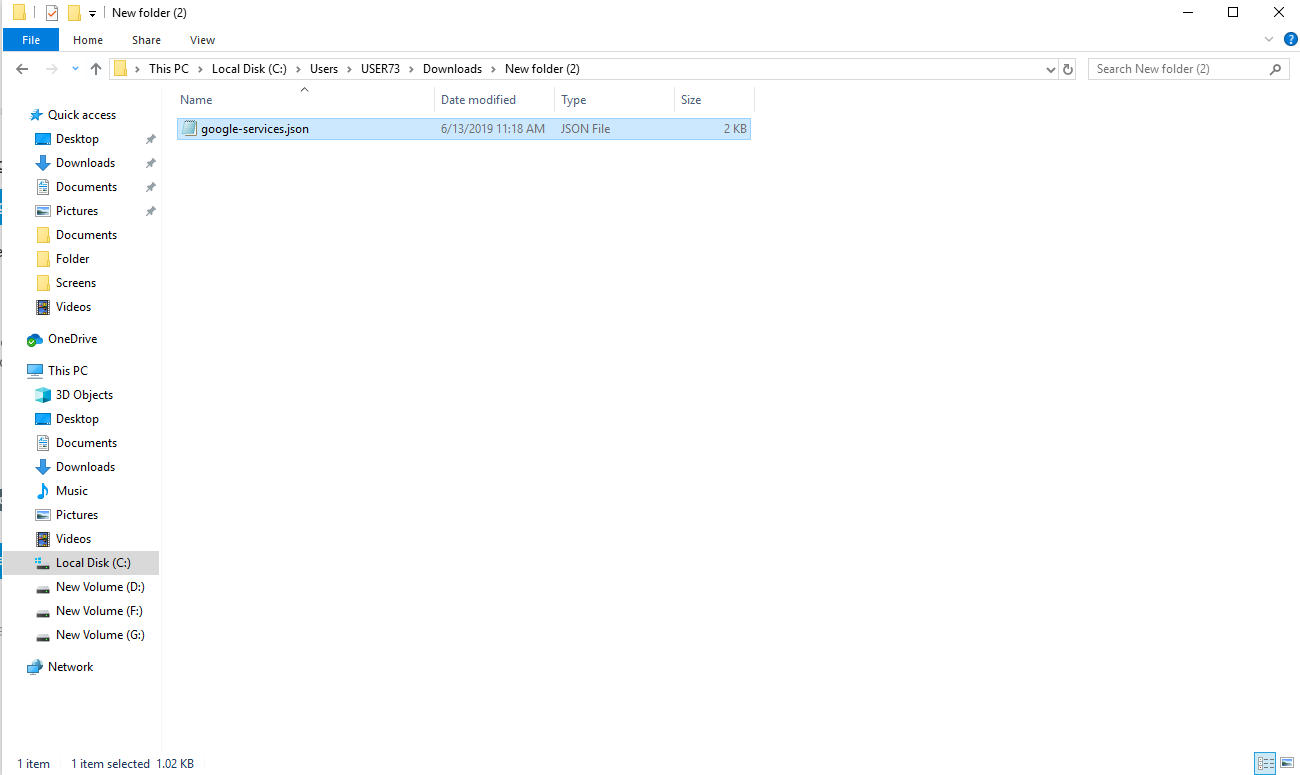
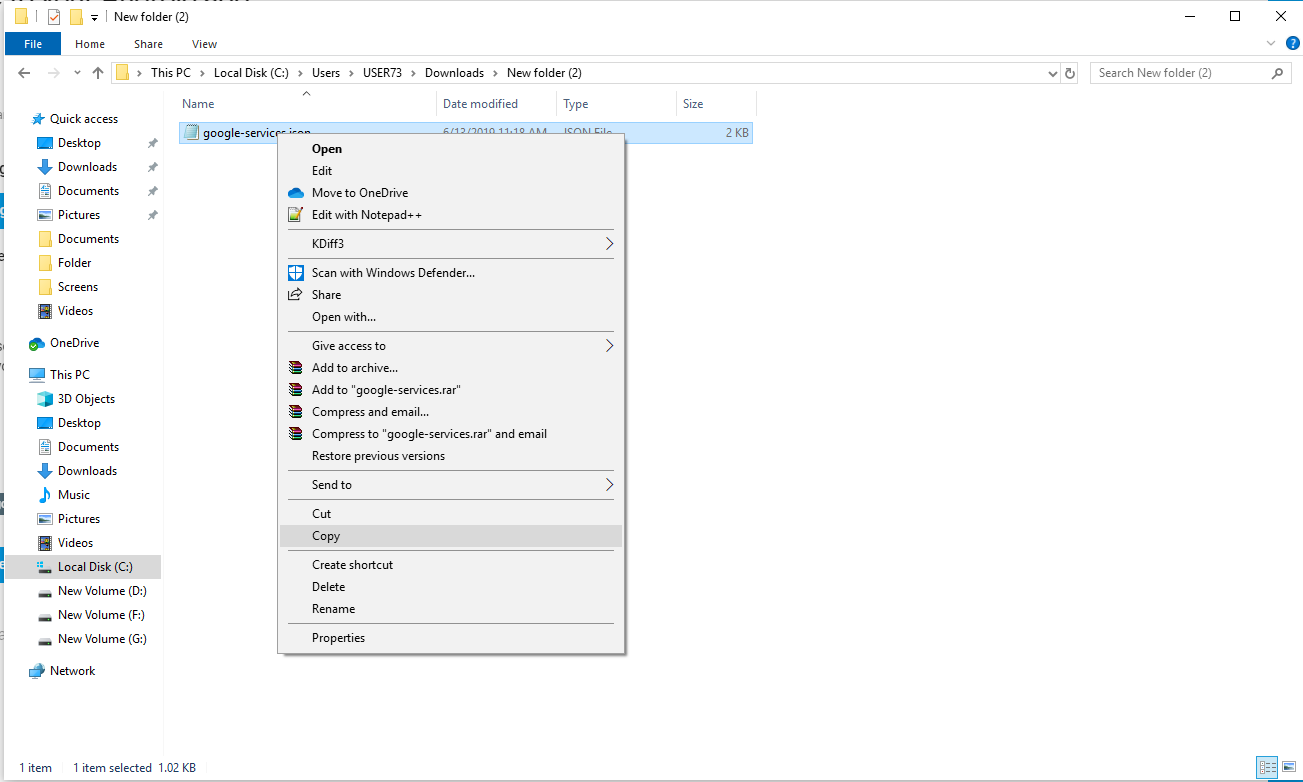
Copy googleservice.json file.
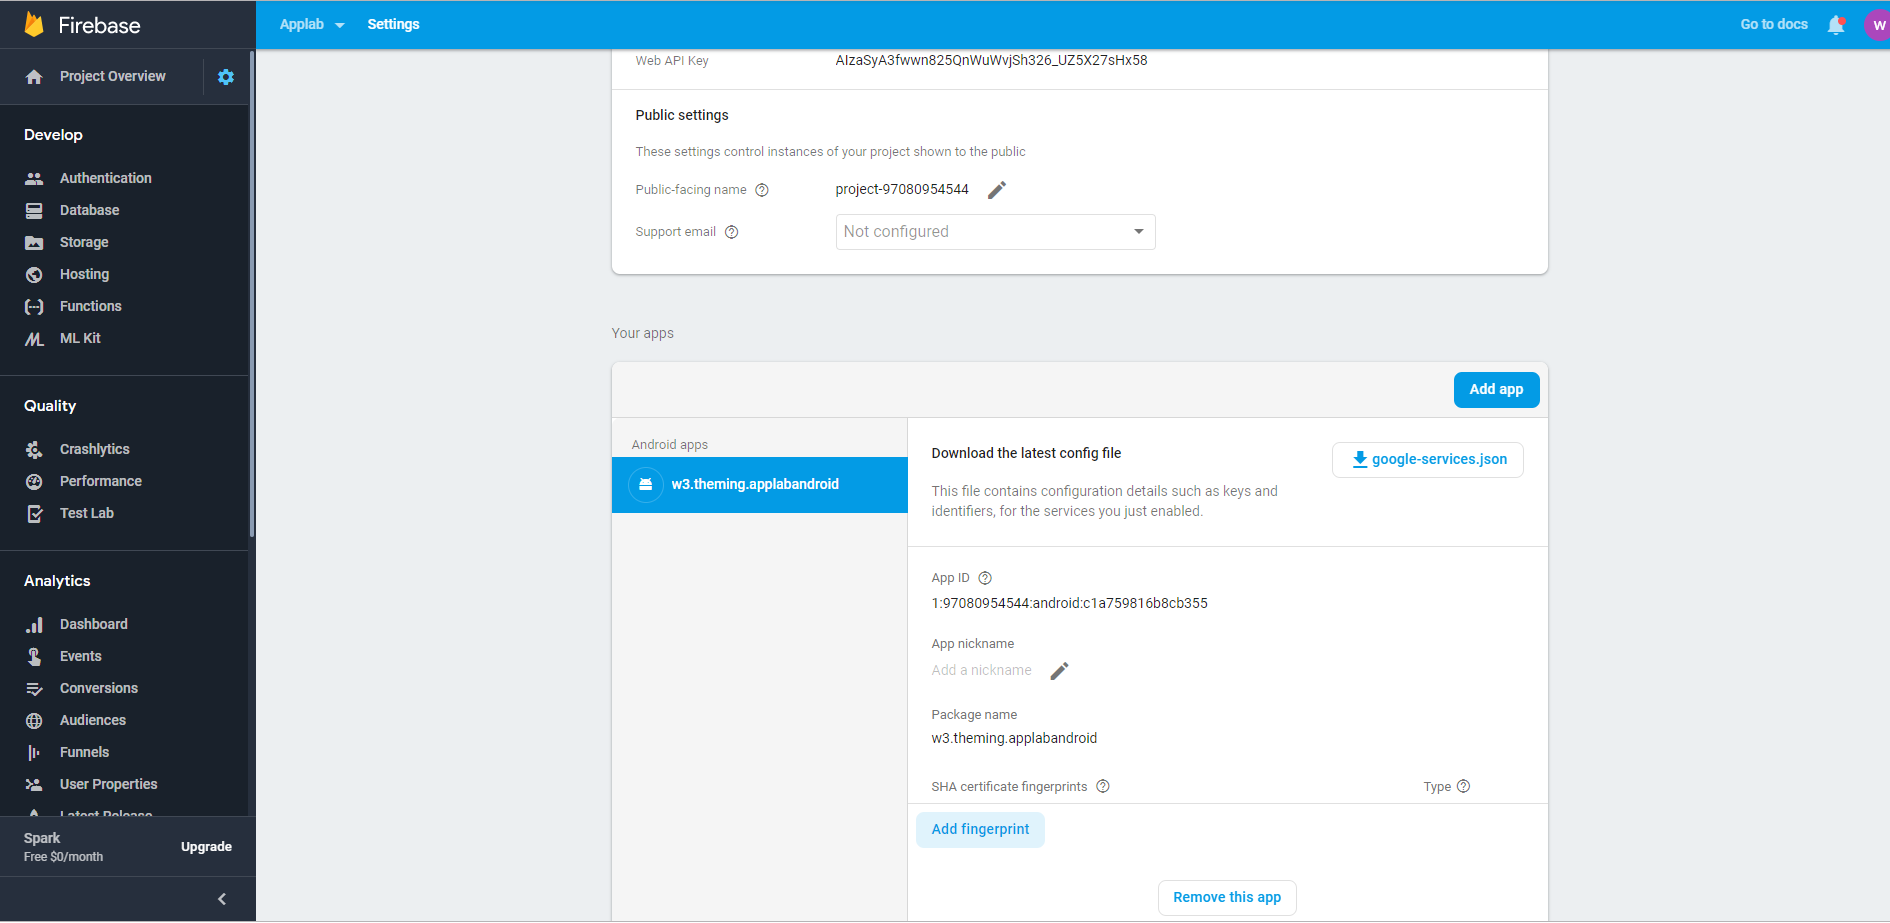
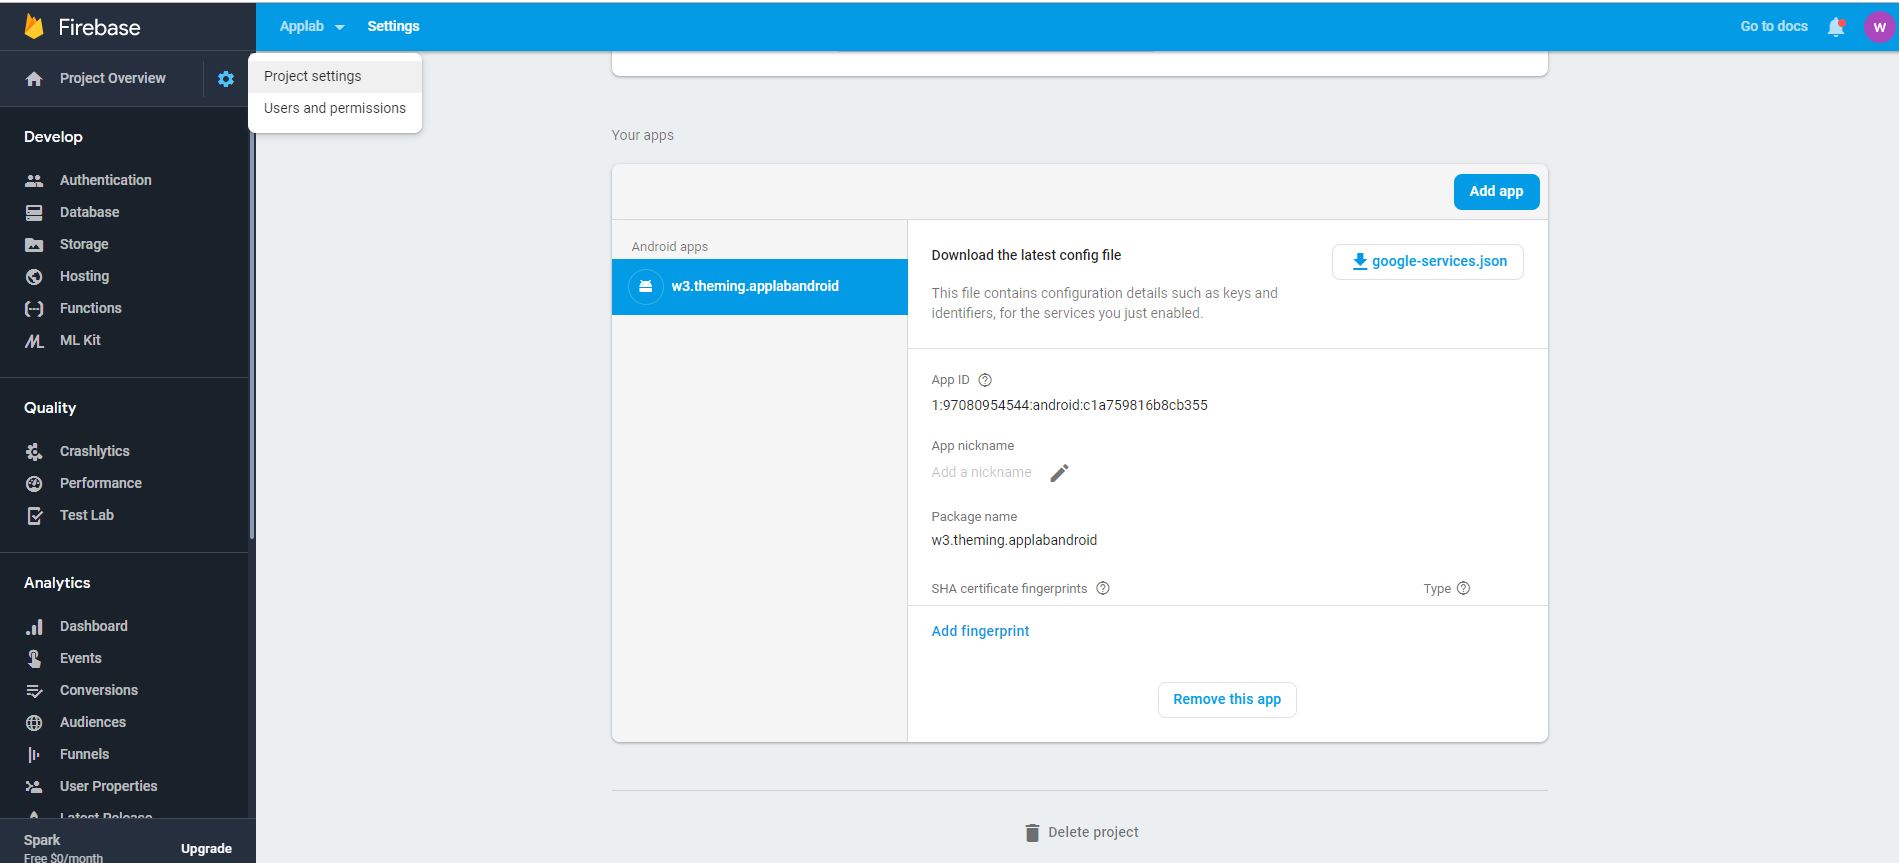
After project setup go to project settings
Click on add finger print
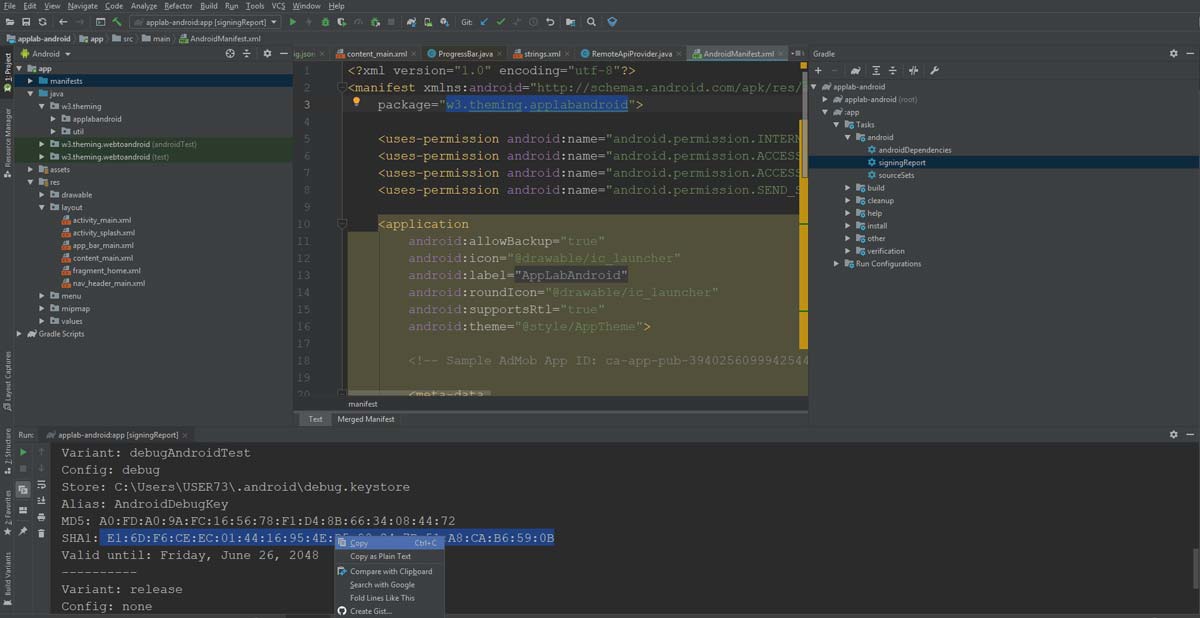
In android studio generate your SHA-1 key as shown in project
configuration video.
Now download the googleservice.json file.
Go to your project.
Select project.
Browse Applab-Android and replace the googleservice.json file.
Now sync your project again.
Now again go to the project from
console.firebase.google.com
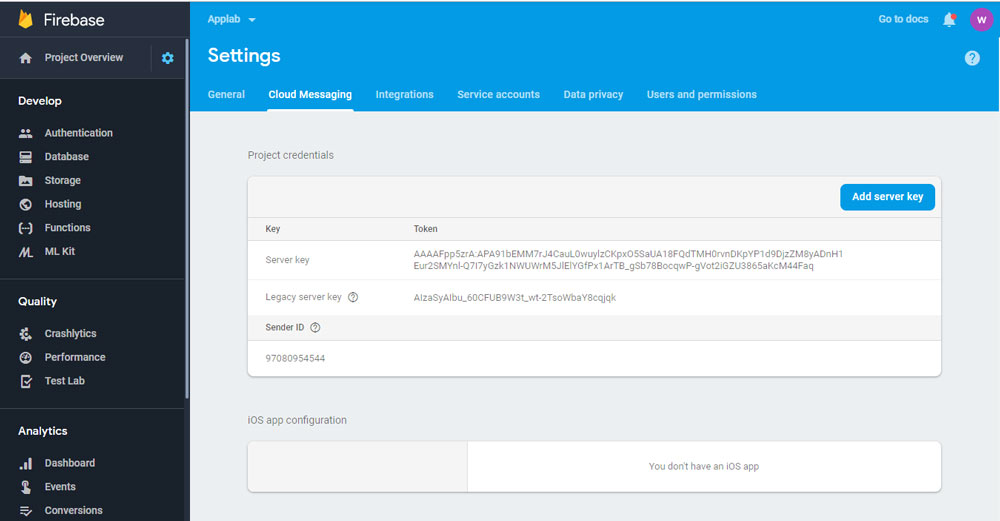
Click Setting icon on project setting
Click Cloud Messaging and copy the server key and paste
it in the auth key field in the admin panel.
8 - Admob Configuration
Note : Real admob adds will be shown only after the publication into the google play store.
8.1Login with your Email id
8.2Go to this link
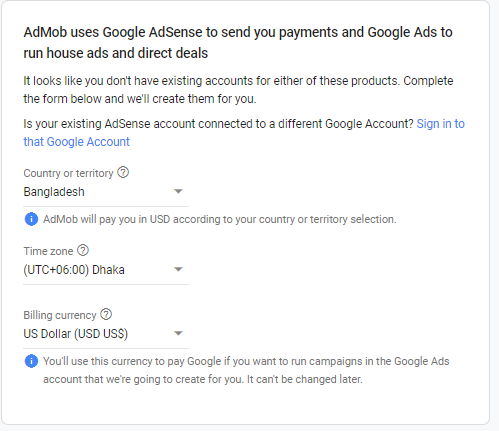
8.3If its your first app tghen you have to select your country,
timezone and currency
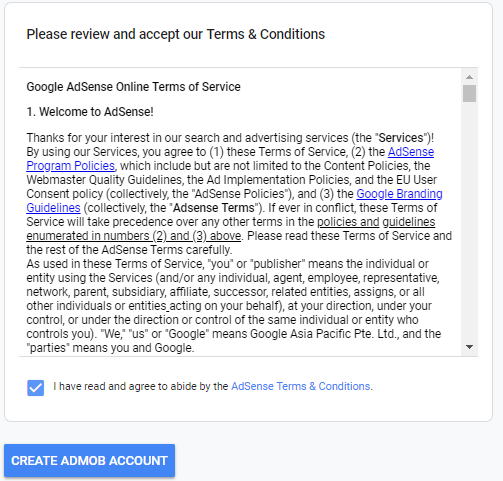
8.4Then you have to agree of the terms and condition and
Create Admob Account
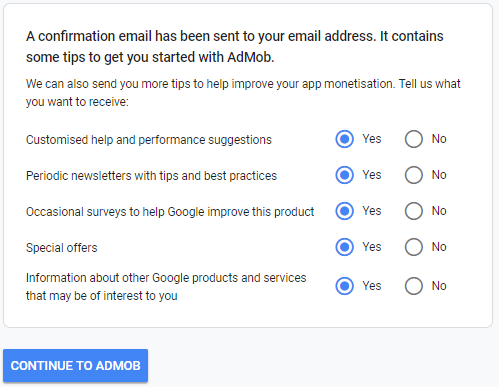
8.5Then you click Continue to Admob
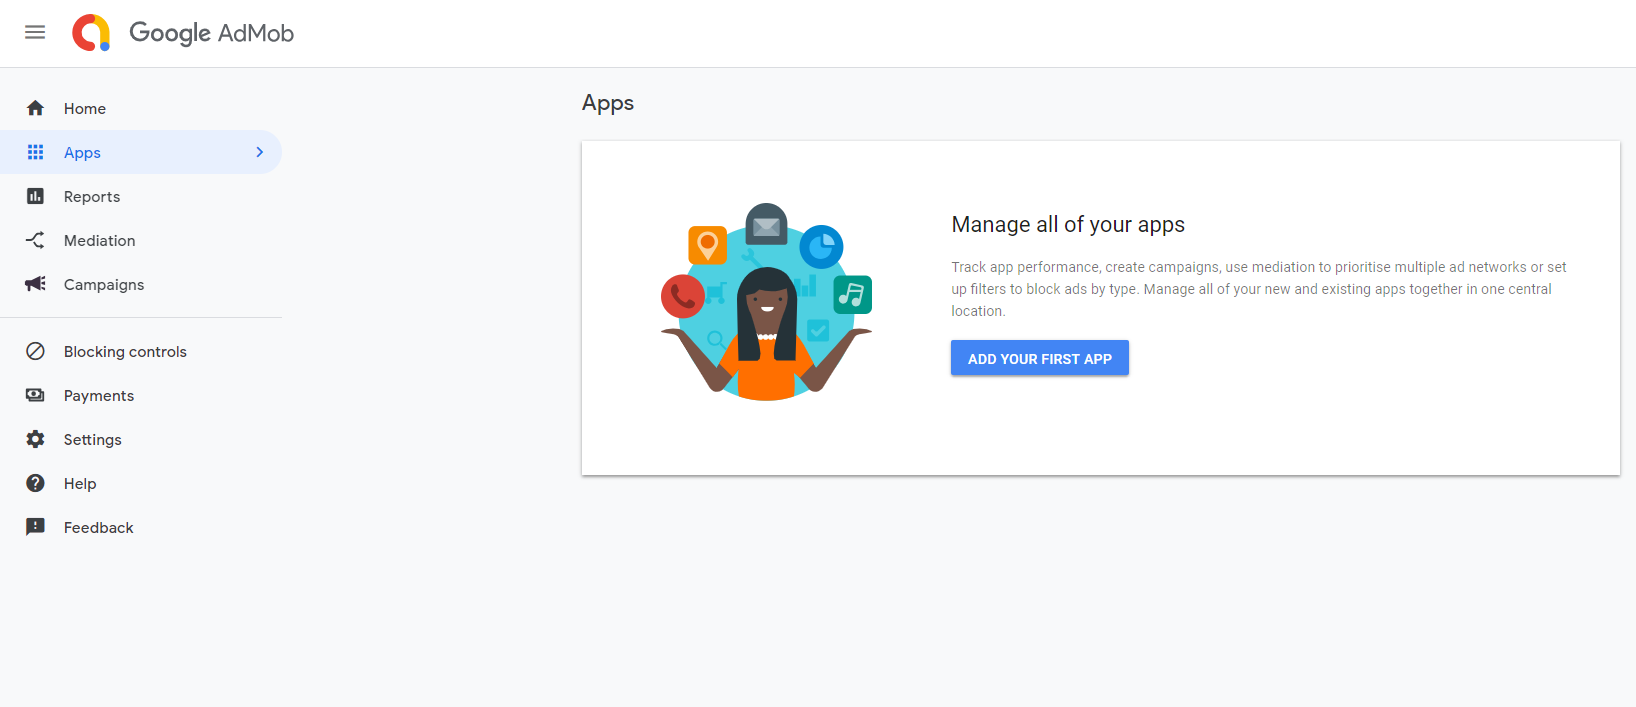
8.6Then you click App and Create your first app
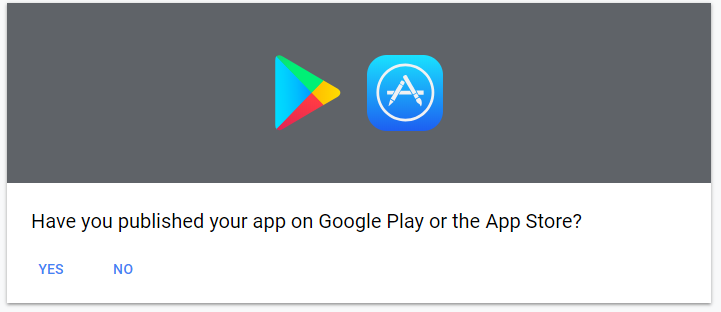
8.7If apps in play store then select yes otherwise no
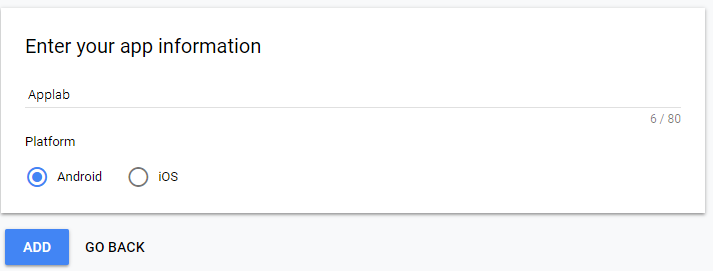
8.8Then provide app information and click add
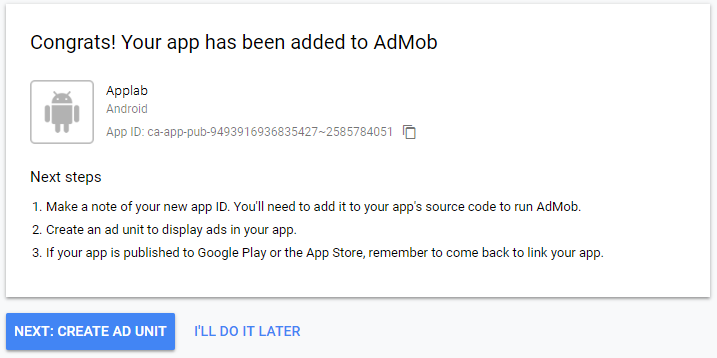
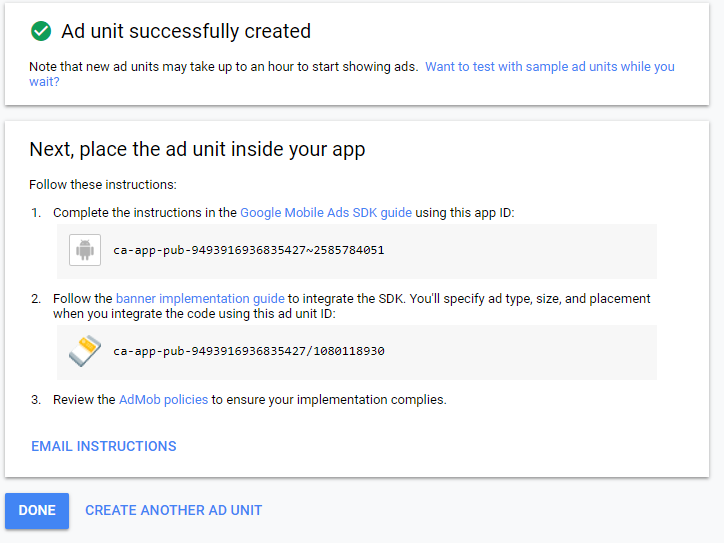
8.9Then you will get an App ID. Save it. You will need it later
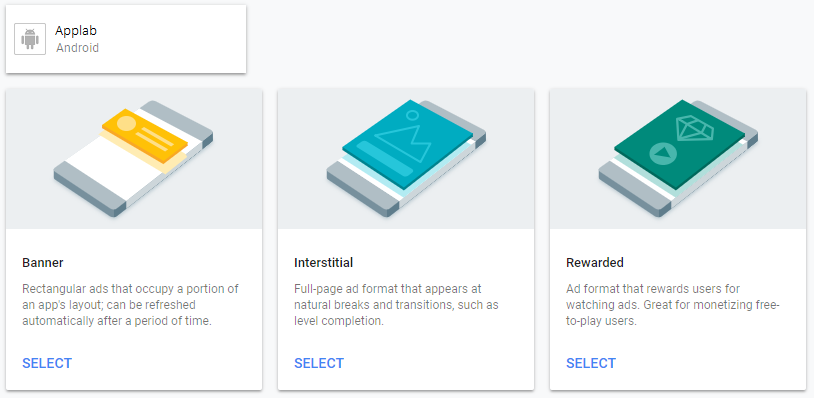
8.10Then click on ‘ CREATE AD UNIT ’ and you will find three type of
ads.
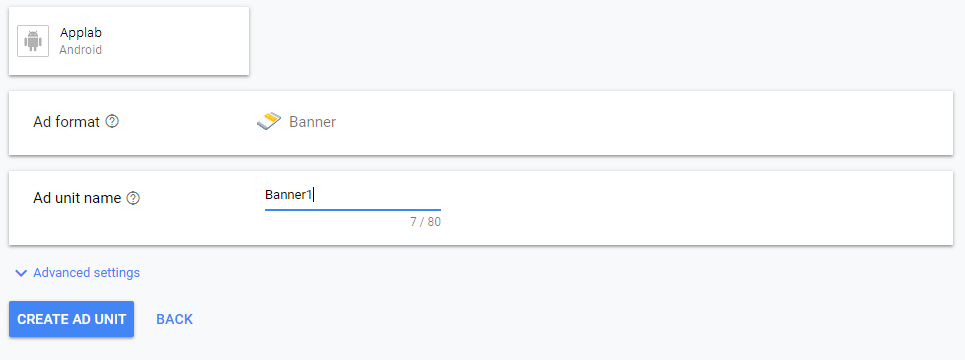
8.11Select banner. Provide ad unit name and click on ‘ CREATE AD UNIT ‘
8.12Copy Banner ad unit id
and save it. You will need it later
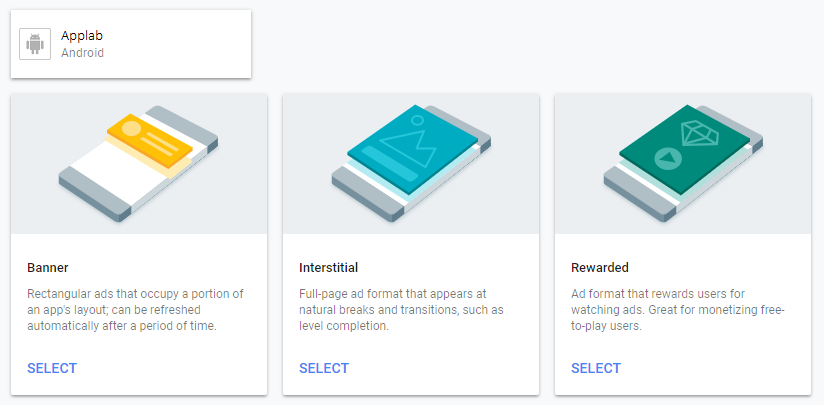
8.13Then again go back and click ‘ ADD AD UNIT ’
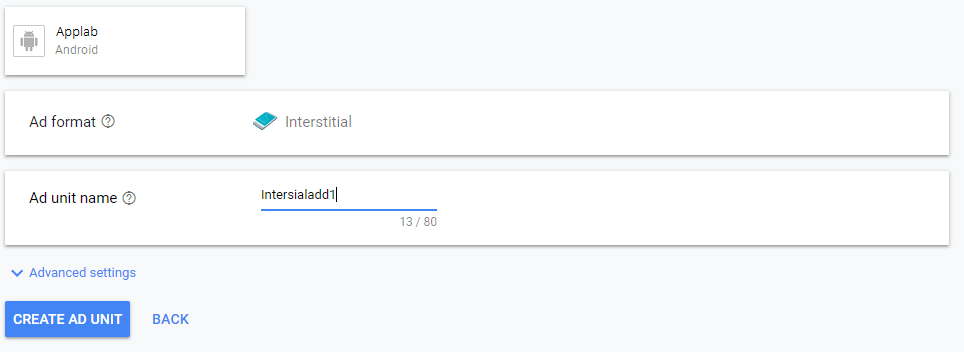
8.14Select ‘ Interstitial ’ ad type.
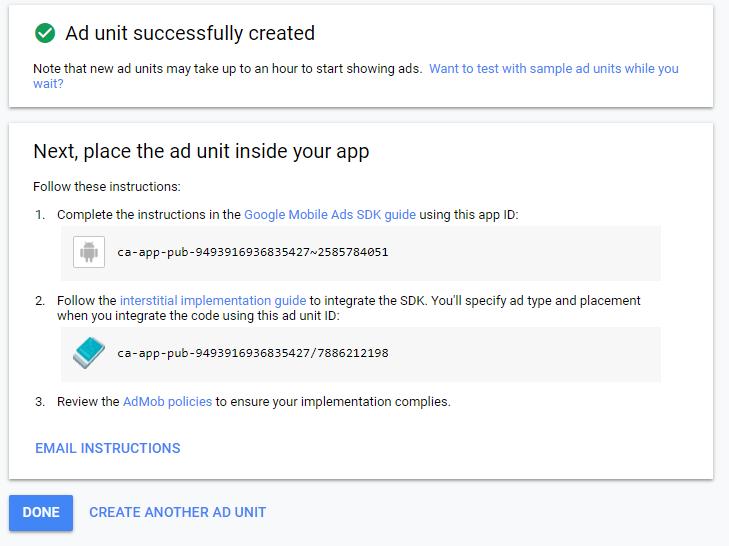
8.15You will find a page like this. Provide ad unit name and select
‘ CREATE AD UNIT ’
8.16Copy ad unit id and save it . You will need it later .
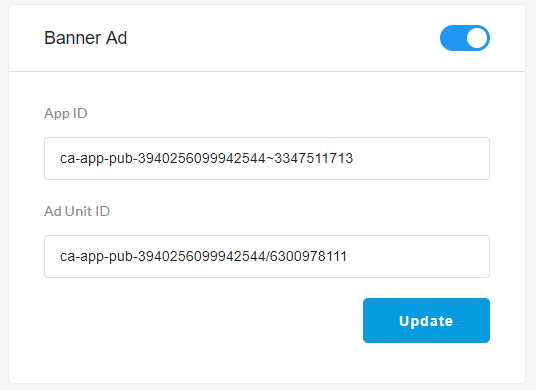
8.17Now get saved Admob App ID, Banner Ad Unit ID.
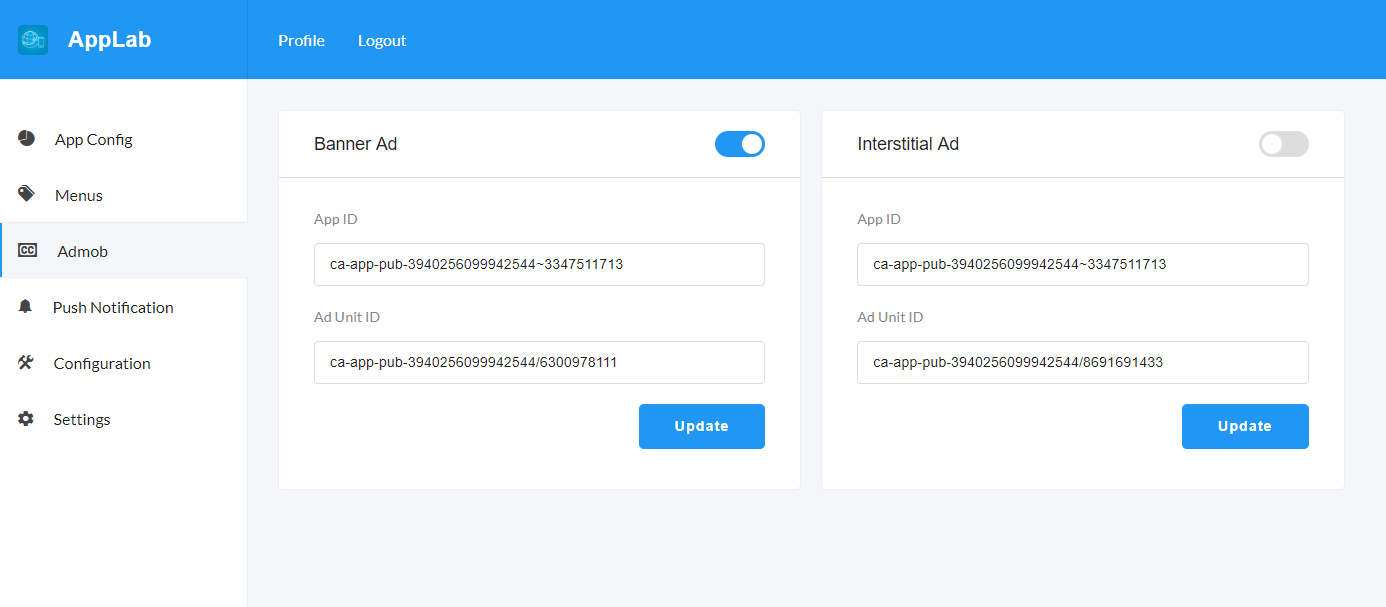
Then go to Admin Panel click Admob from sidebar. Put App ID and Ad Unit ID
in the Banner Ad in the admin panel.
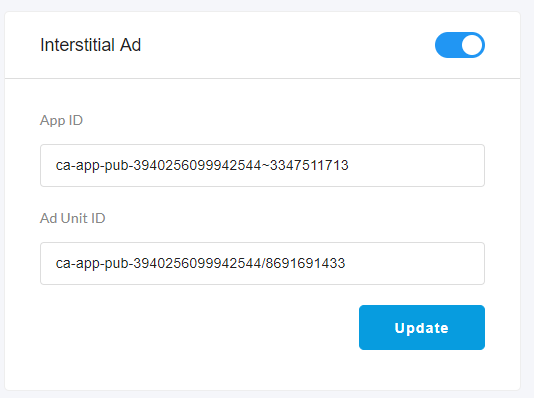
8.18Now get saved Admob App ID, Interstitial Ad Unit ID.
Then go to Admin Panel. Click Admob form sidebar. Put App ID and Ad Unit ID
in the Interstitial Ad in the admin panel.
8.19You can hide admob from the ap by clicking the on/off toggle button form the header.
9 - Publishing the app in Playstore
9.1Prepare your app
Change the package name and app name.
Generate sign apk.
Configure AdMob according to your account settings
Change the app logo.
9.2Prepare resources
Prepare one logo with size 512px * 512 px
Take a minimum of 2 screenshots of your app
Generate feature graphics screen1024px * 512px
Reference link:
https://support.google.com/googleplay/android-developer/answer/1078870?hl=en
9.3Submit your app on play store
Sign in to your play store account with your credential.
Create an app.
Go to “App Release” section.
Fillup application short and long description, upload a high-resolution logo, app screenshots and feature graphics that was prepared earlier.
Also filling the privacy policy link and other required information.
Click on save and if all required field submitted properly then you will find a green check mark on app release.
Now go to “App releases” section and go to manage production release.
Upload you signed apk and leave a short note in “What's new in this release” section.
Save this section.
Now finish “Content Rating” and “Store Listing” section with proper instruction and back to “App release” section again.
Finally, review your app and submit for publication.
Reference link:
https://www.youtube.com/watch?v=udPWeFUZzdo
9.4App submission
After submission, you won’t find your application immidiately on playstore.
Play store team will review your app. And after review your application will be published on playstore.
Review time could max 48 hours.
9.5Note
Here are some important tips for your application that will reduce the possibility of application rejection by play store.
Do not forget to change the app name and package name.
Do not forget to change the application logo.
Try not to download image or icons directly from Google. And try to use copyright free resources.
User your own AdMob credentials and link your application with AdMob account.
Admin Panel
10 - Folder Structure of Admin Panel
10.1Inside the project folder, you will see the following directories that are important
to setup and customizing the admin panel.
10.2public directory: All the public files like outlook, uploaded images/videos, apis are inside this directory.
public\api : List of all apis.
public\common\php : Common files like header, footer, sidebar.
public\common\other : Custom Styte and Script file.
backend\plugin-frameworks: All the external style and javascript files.
backend\uploads: All the uploaded image and video files.
10.3private directory: All the private files like models, controllers files are inside this directory.
private\controllers : All the controller files.
private\models : All the models.
private\vendor : External php scripts like phpmailer.
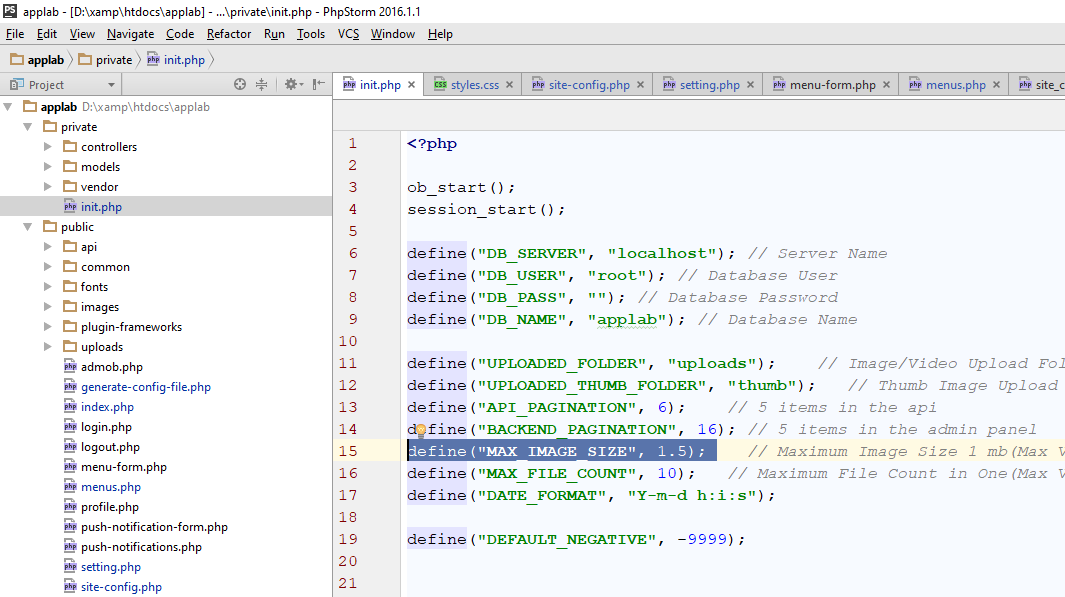
private\init.php : All the settings like database credential, uploaded folder name, item count for pagination.
Please make sure you have change the database credential in the
private/init.php file.
Please make sure you have set the writable 777 permission to the
public/uploads and public/uploads/thumb folder
10.4Changing maximum file size
For changing the maximum file size of the server,
first you must change the
post_max_size and
upload_max_filesize of the server and then restart the server.
For details please visit the following link
Click Here
In the root of our project there is a .htaccess file.
You can change this file to configure the upload file
size of the server.
Also you nedd to change the following constants form init.php file.
define("MAX_IMAGE_SIZE", 1.5)
Open private > init.php
Go to line 15 and 16
Change the value of MAX_IMAGE_SIZE
11 - Functionality of Admin Panel
11.1App Config
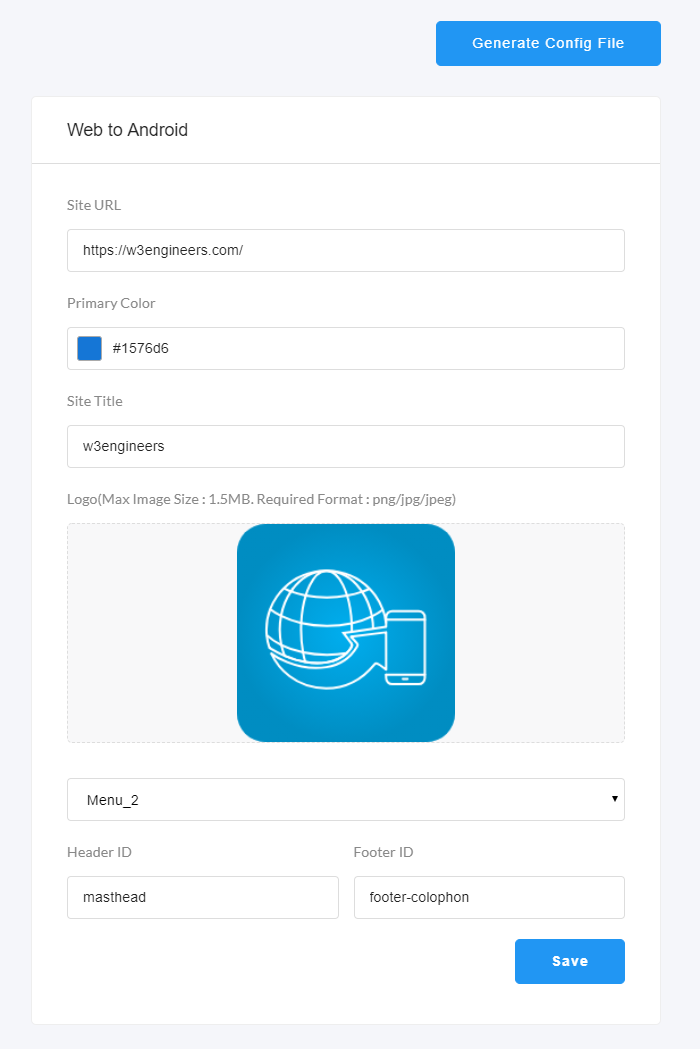
Admin is able to congifigure the application form
here. Admin is able to set the site url which will be shown as the web view on the application.
Admin is able to set the primary color of the app, app title, site logo, navigation menu.
Admin can remove the header and footer form the web view by setting the header id and footer id
in the configuration page.
11.2Menu
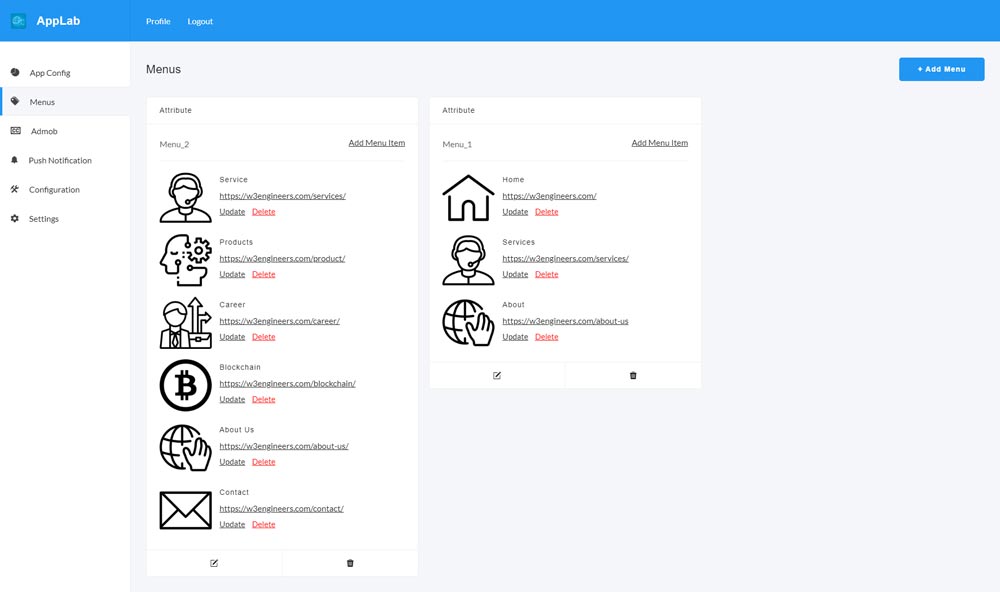
Admin is able to congifigure the navigation
drawer form here. First admin has to add the menu. Then add the menu item but putting
the image, name, and the url of the menu.
11.5Google Admob
Admin can configure admob credentials from admin panel.
Also admin can on/off admin from the on/off button in the admob page.
11.6Push Notification
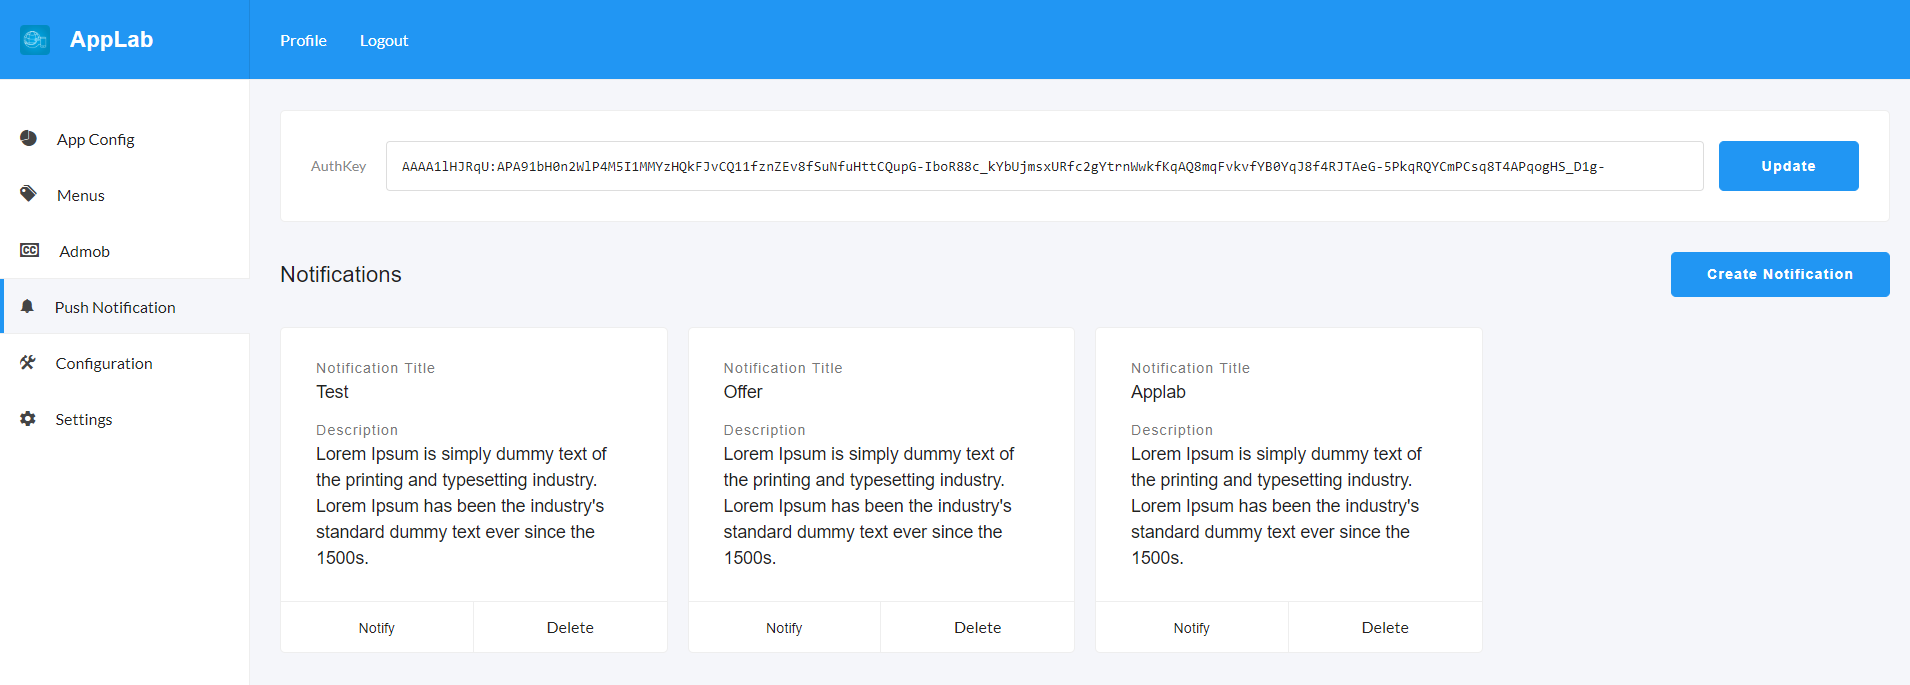
Admin can send push notification from the admin panel.
First, Admin have to put the AuthKey in the AuthKey field.
To get the Auth key
please follow section 7
11.7Configuration
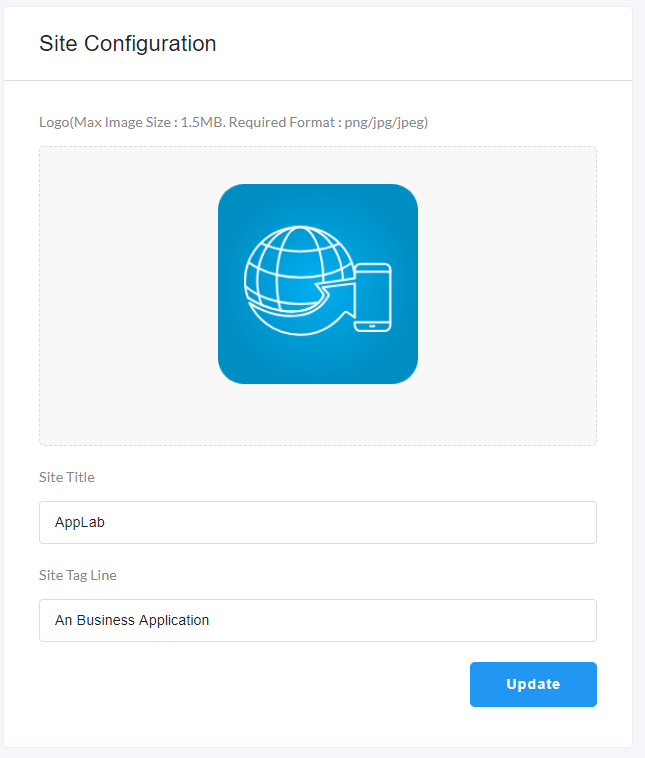
In the configuration page, admin will be able to change the icon, site title
and site tag line in the Site Configuration form .
11.8Setting
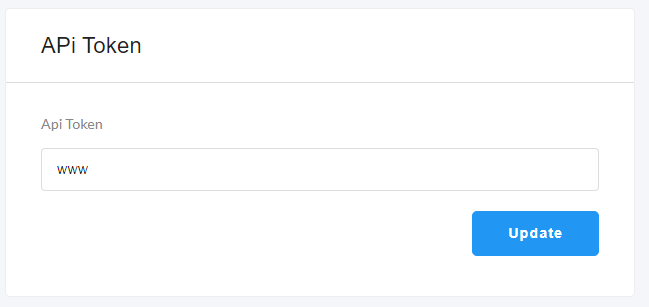
From the setting page, Admin will be able to
change the api key, which used in the app.


